Legacy Letters
Write, upload, and share letters that carry your family stories forward.
The Legacy Vault is a digital archive for the things you want your family to keep, stories, lessons, encouragement, the reasons behind the way you do things. You can write letters in Total Family with help from AI, or upload letters you already have, then decide who reads them and when.
The Four Categories
Open Total Legacy > Legacy Vault. Every letter belongs to one of four categories, and the vault opens on all four with a running count of what you have written.
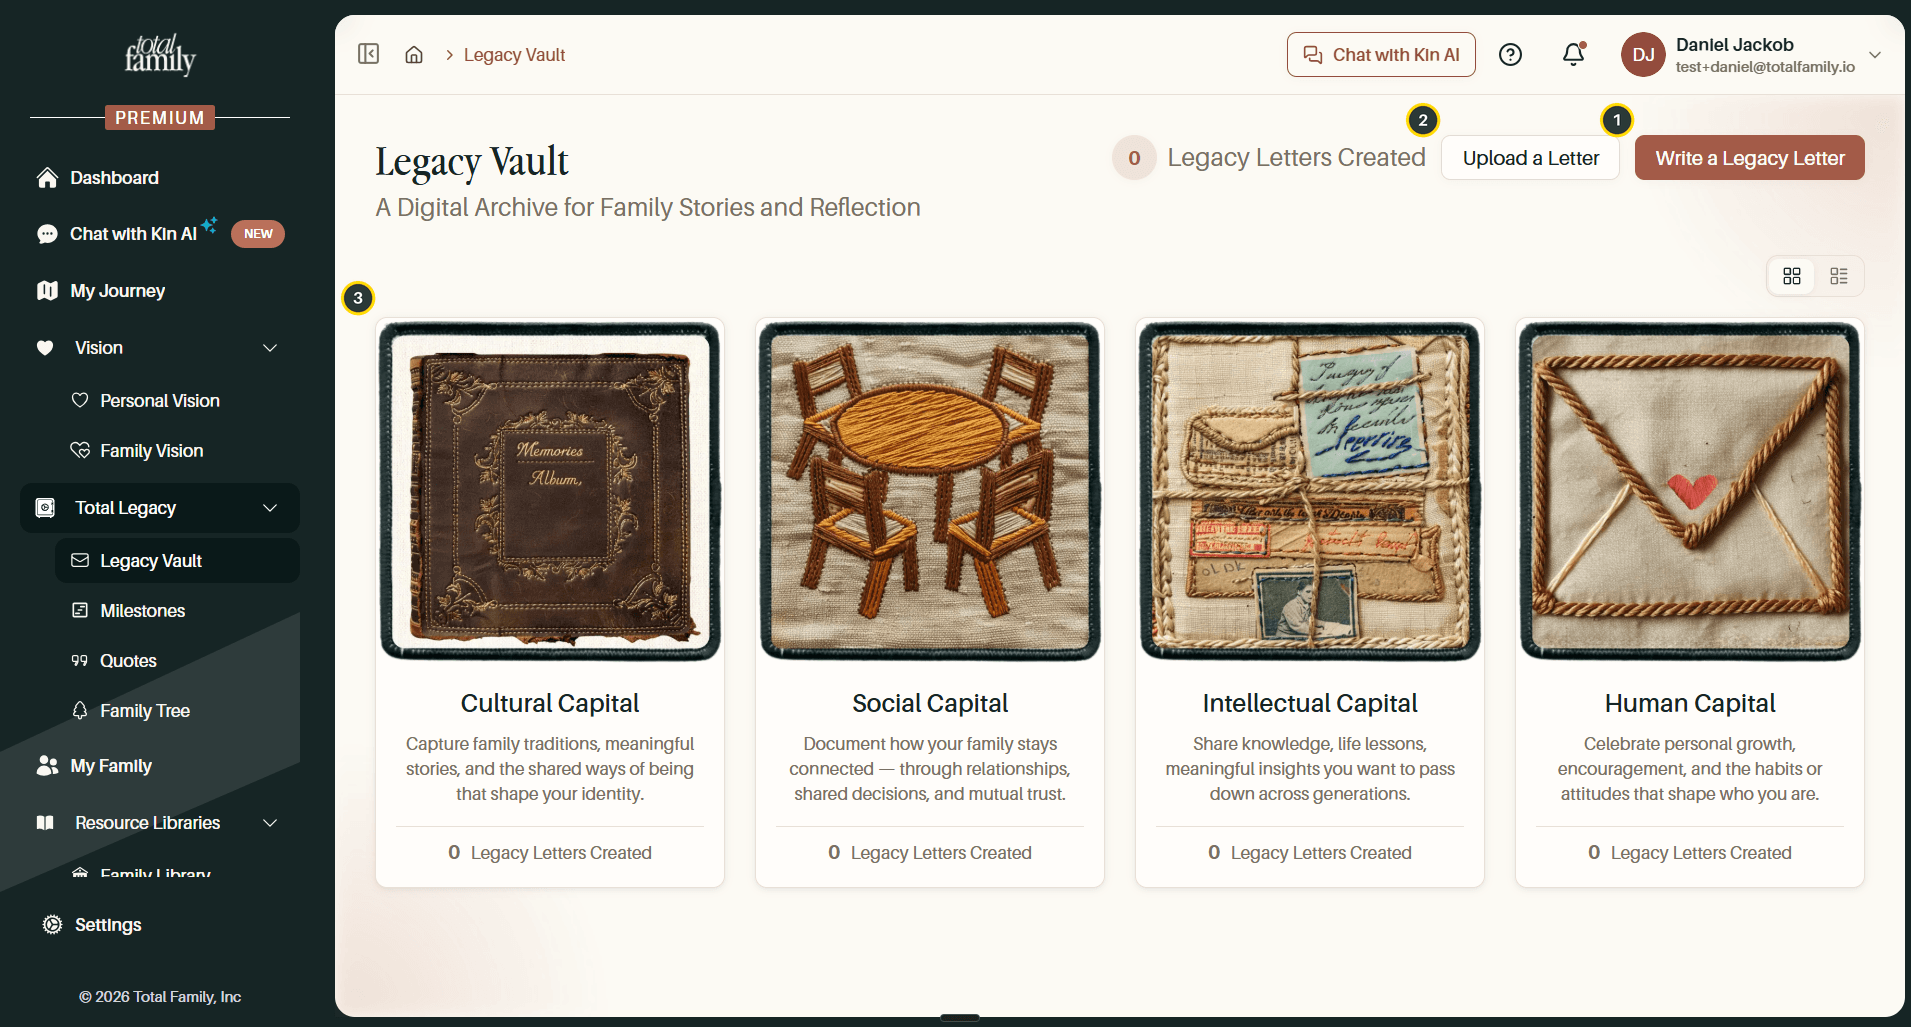
- Write a Legacy Letter: compose a new letter in Total Family.
- Upload a Letter: bring in a letter you already have as a file.
- The four categories: choose the one that fits what you are writing:
| Category | For |
|---|---|
| Cultural Capital | Traditions, stories, and the shared ways of being that shape identity |
| Social Capital | How your family stays connected, relationships and mutual trust |
| Intellectual Capital | Knowledge, life lessons, and insights to pass down |
| Human Capital | Personal growth, encouragement, and the habits that shape you |
Selecting a category opens its own page, which has the same Write a legacy letter and Upload a Letter buttons, so you can start from either place.
Start a Letter
Select Write a Legacy Letter and an empty letter opens. Nothing is filled in yet except today's date.
Four things make up a letter:
- Title: what your family will see in the vault.
- Category: which of the four capitals the letter belongs to. Nothing is selected to begin with.
- Date of Creation: today's date, which you can change.
- Content: the letter itself.
Start with the title, then write your letter in the Content area. Everything else can be set afterwards, and nothing is stored until you save.
Set the Category and Date
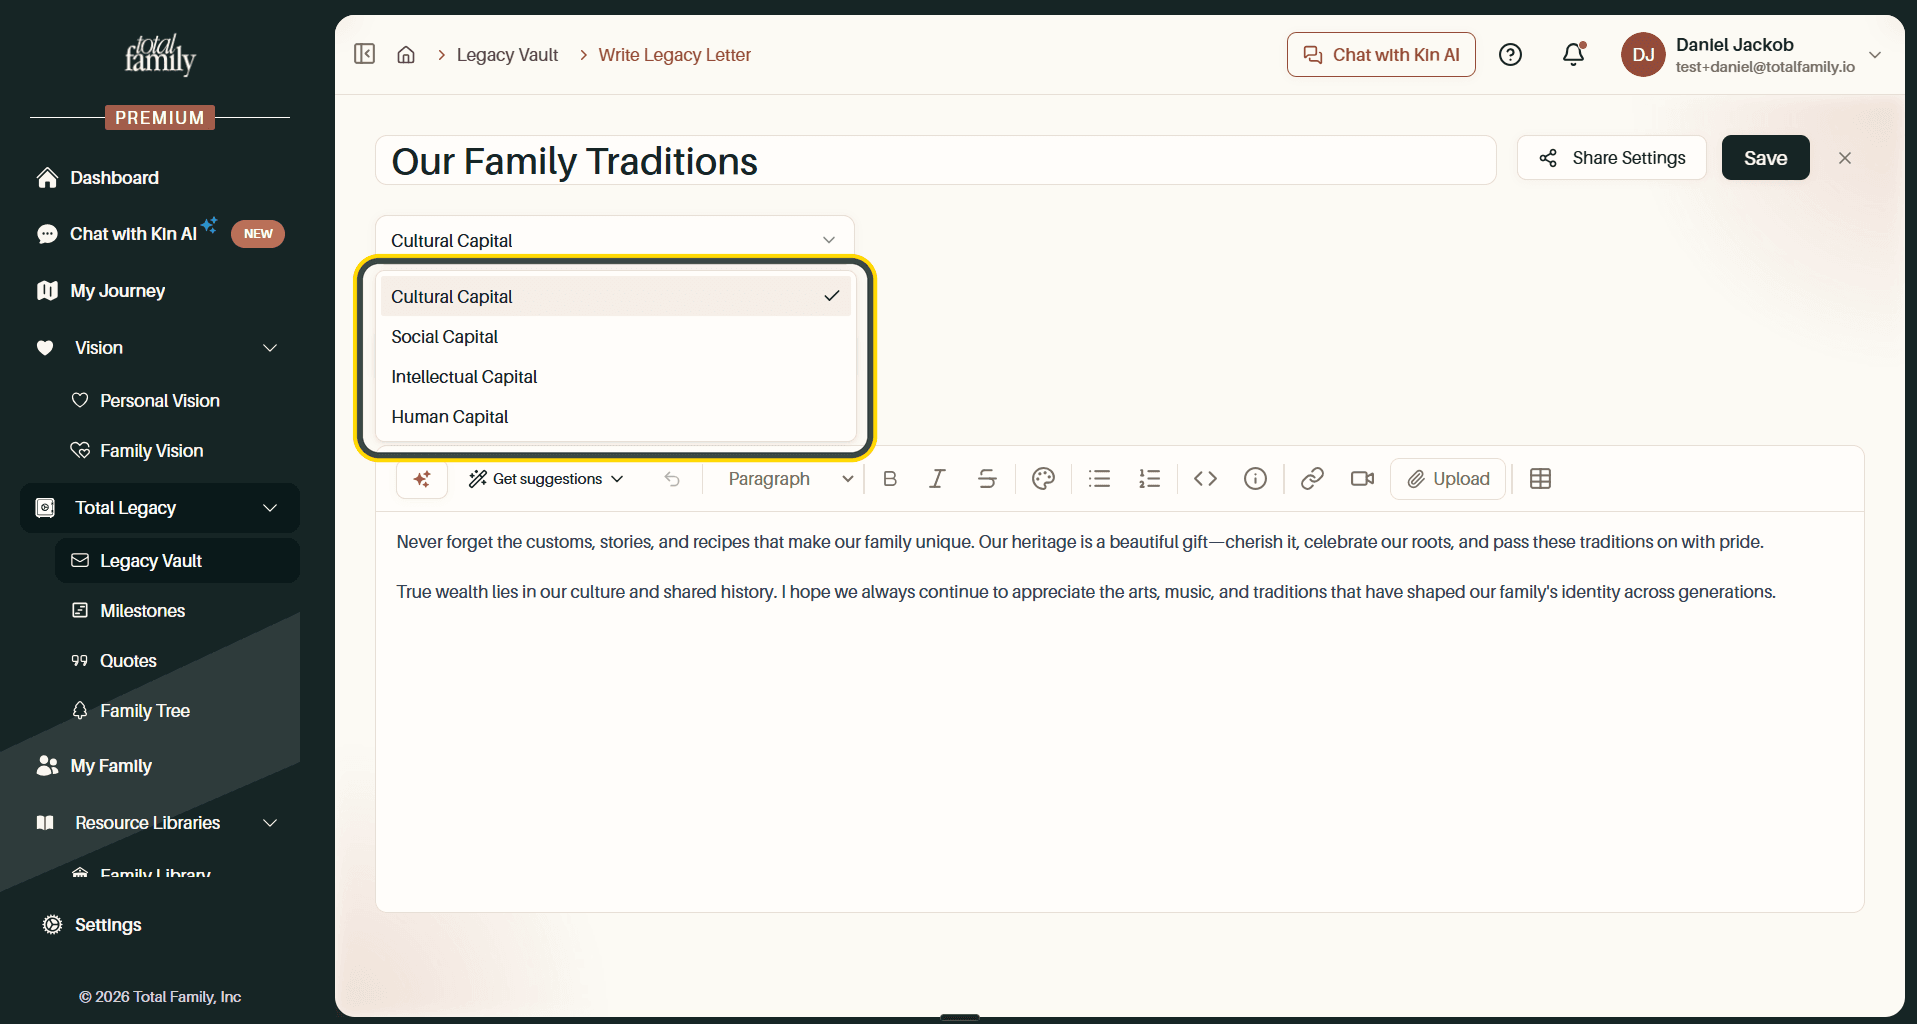
With your letter written, choose the category from the dropdown under the title. If you started from inside a category it is already filled in, and you can change it here.
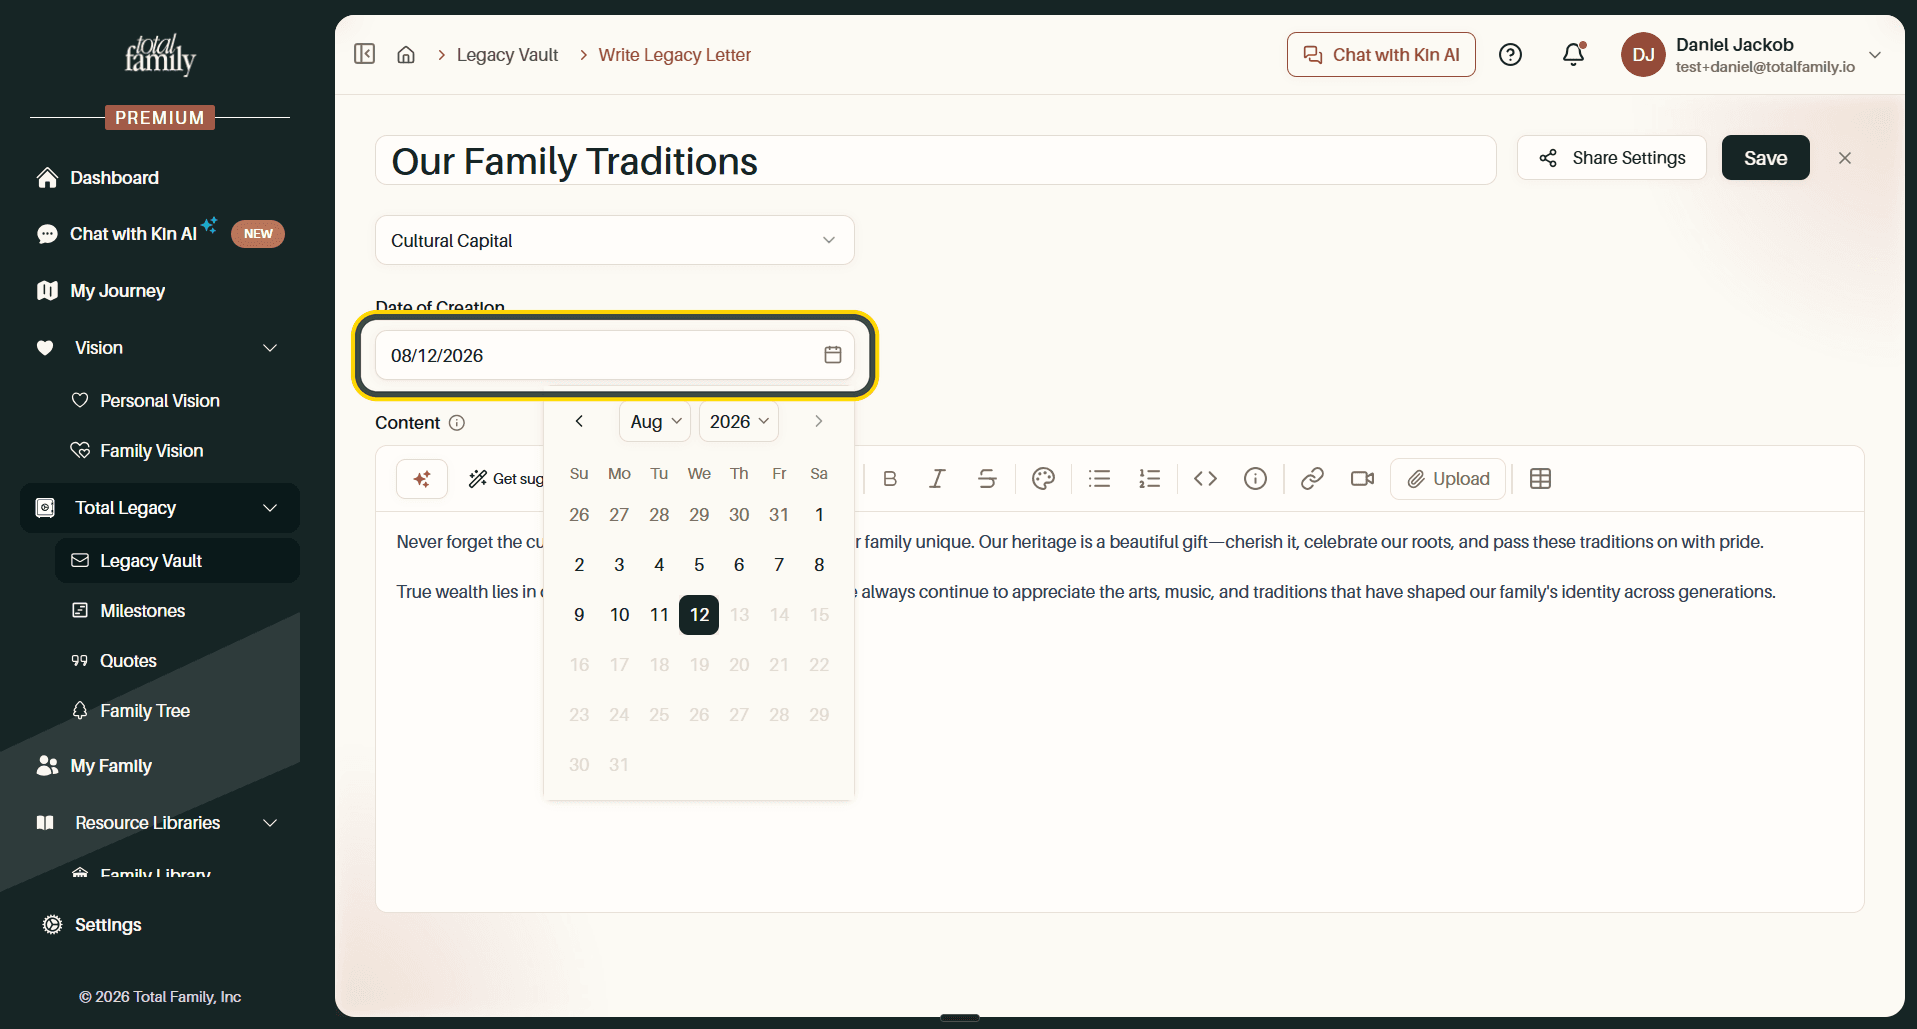
Date of Creation defaults to today. Select the calendar icon to pick a different date, useful when you are transcribing something written years ago.
Write With AI
Type your letter in the Content area. When you want help, the AI works two ways.
Ask for a Specific Change
Select the ✨ button at the far left of the toolbar to open a prompt box, then describe what you want: "rephrase it", "make this sound less formal", anything in your own words.
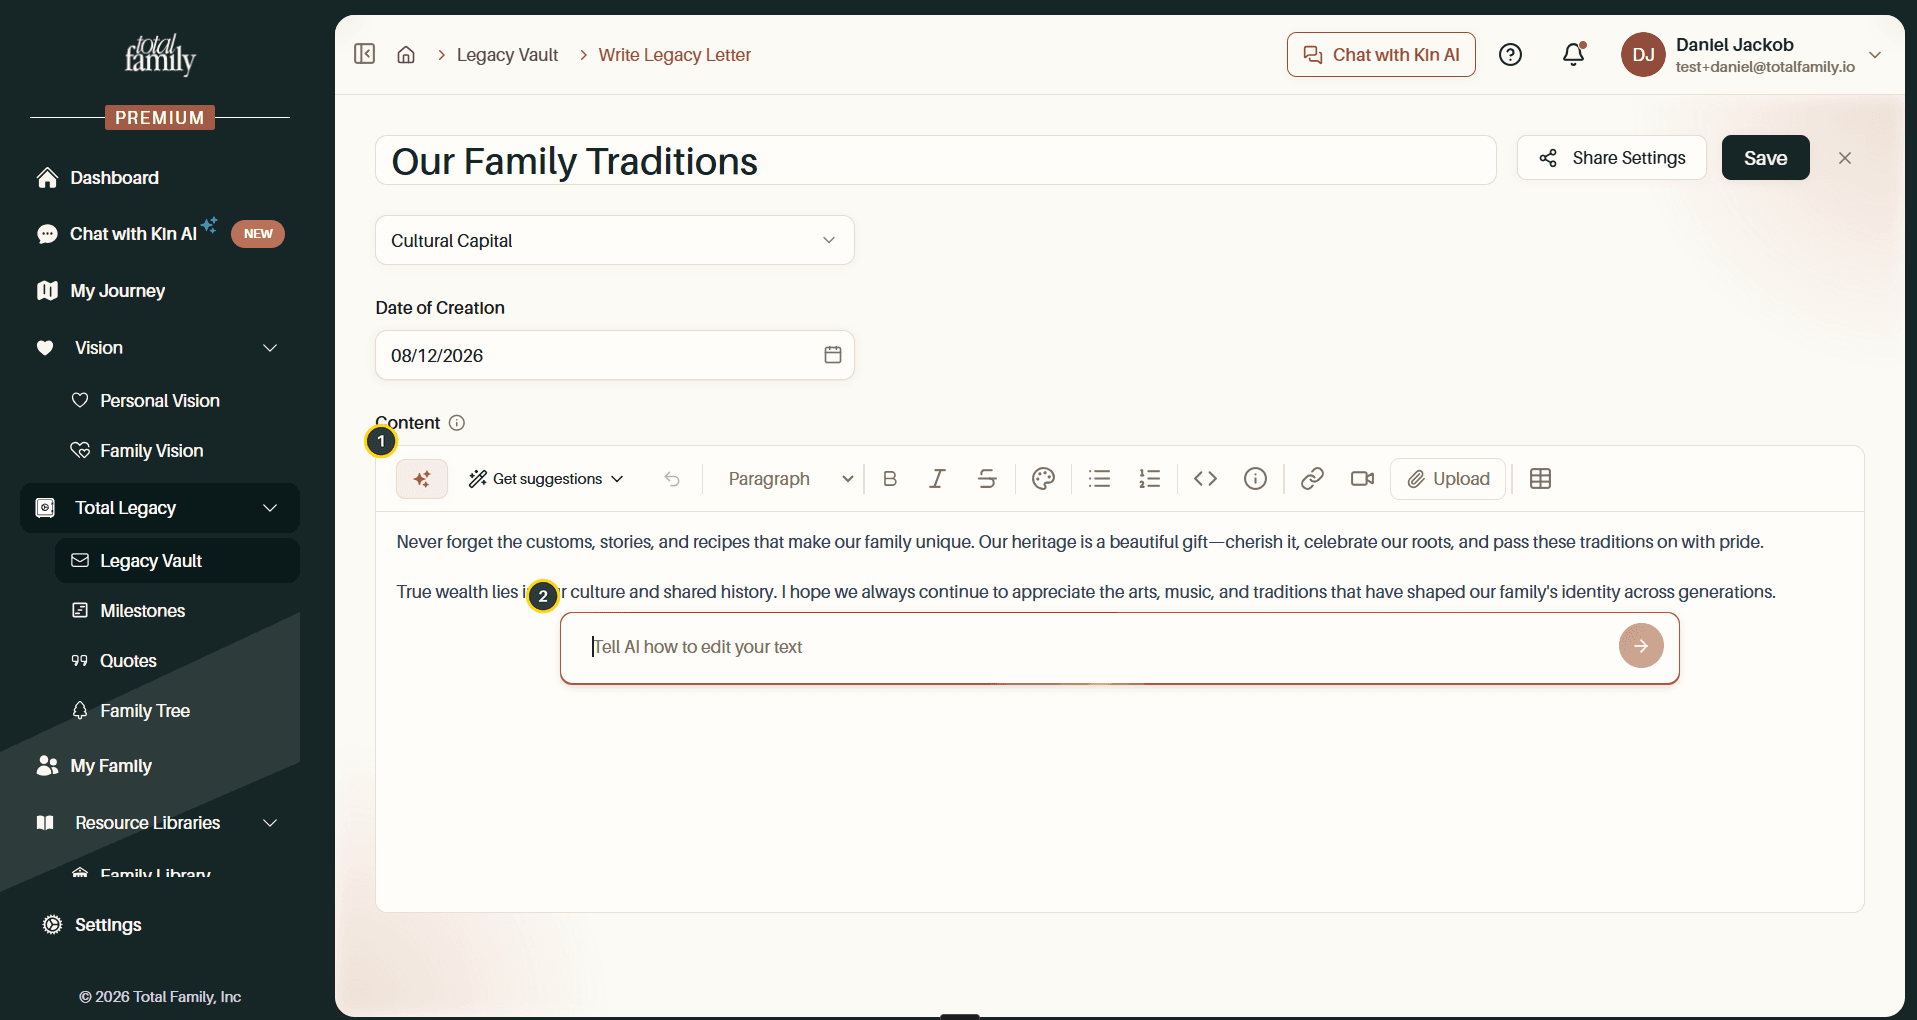
- ✨: opens the AI prompt box.
- Prompt box: describe the change you want, then send it.
Your original text is struck through and the new version appears beneath it, so you can compare before committing to anything.
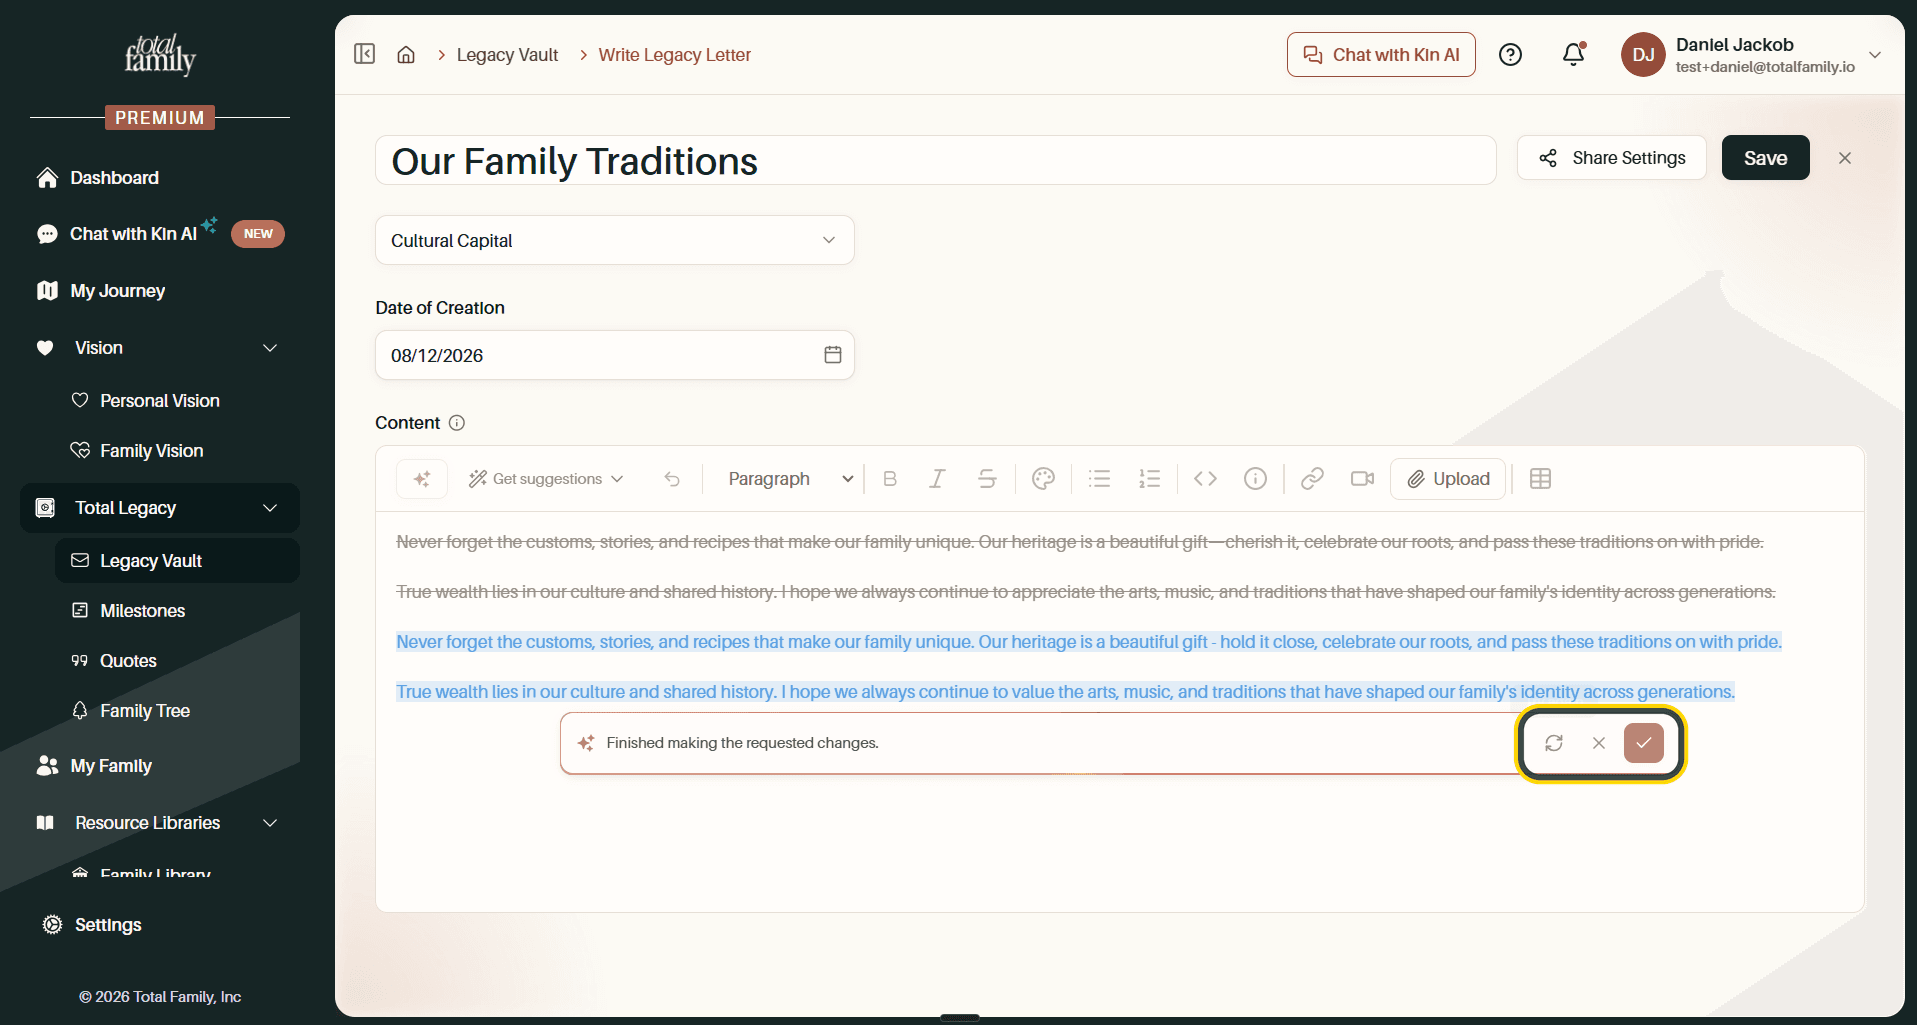
Three buttons decide what happens next:
- Try again: regenerate a different version
- ✕: discard the suggestion and keep your original
- ✓: accept the AI version and replace your text
Use a Ready-Made Suggestion
Get suggestions offers six common edits without you having to write a prompt.
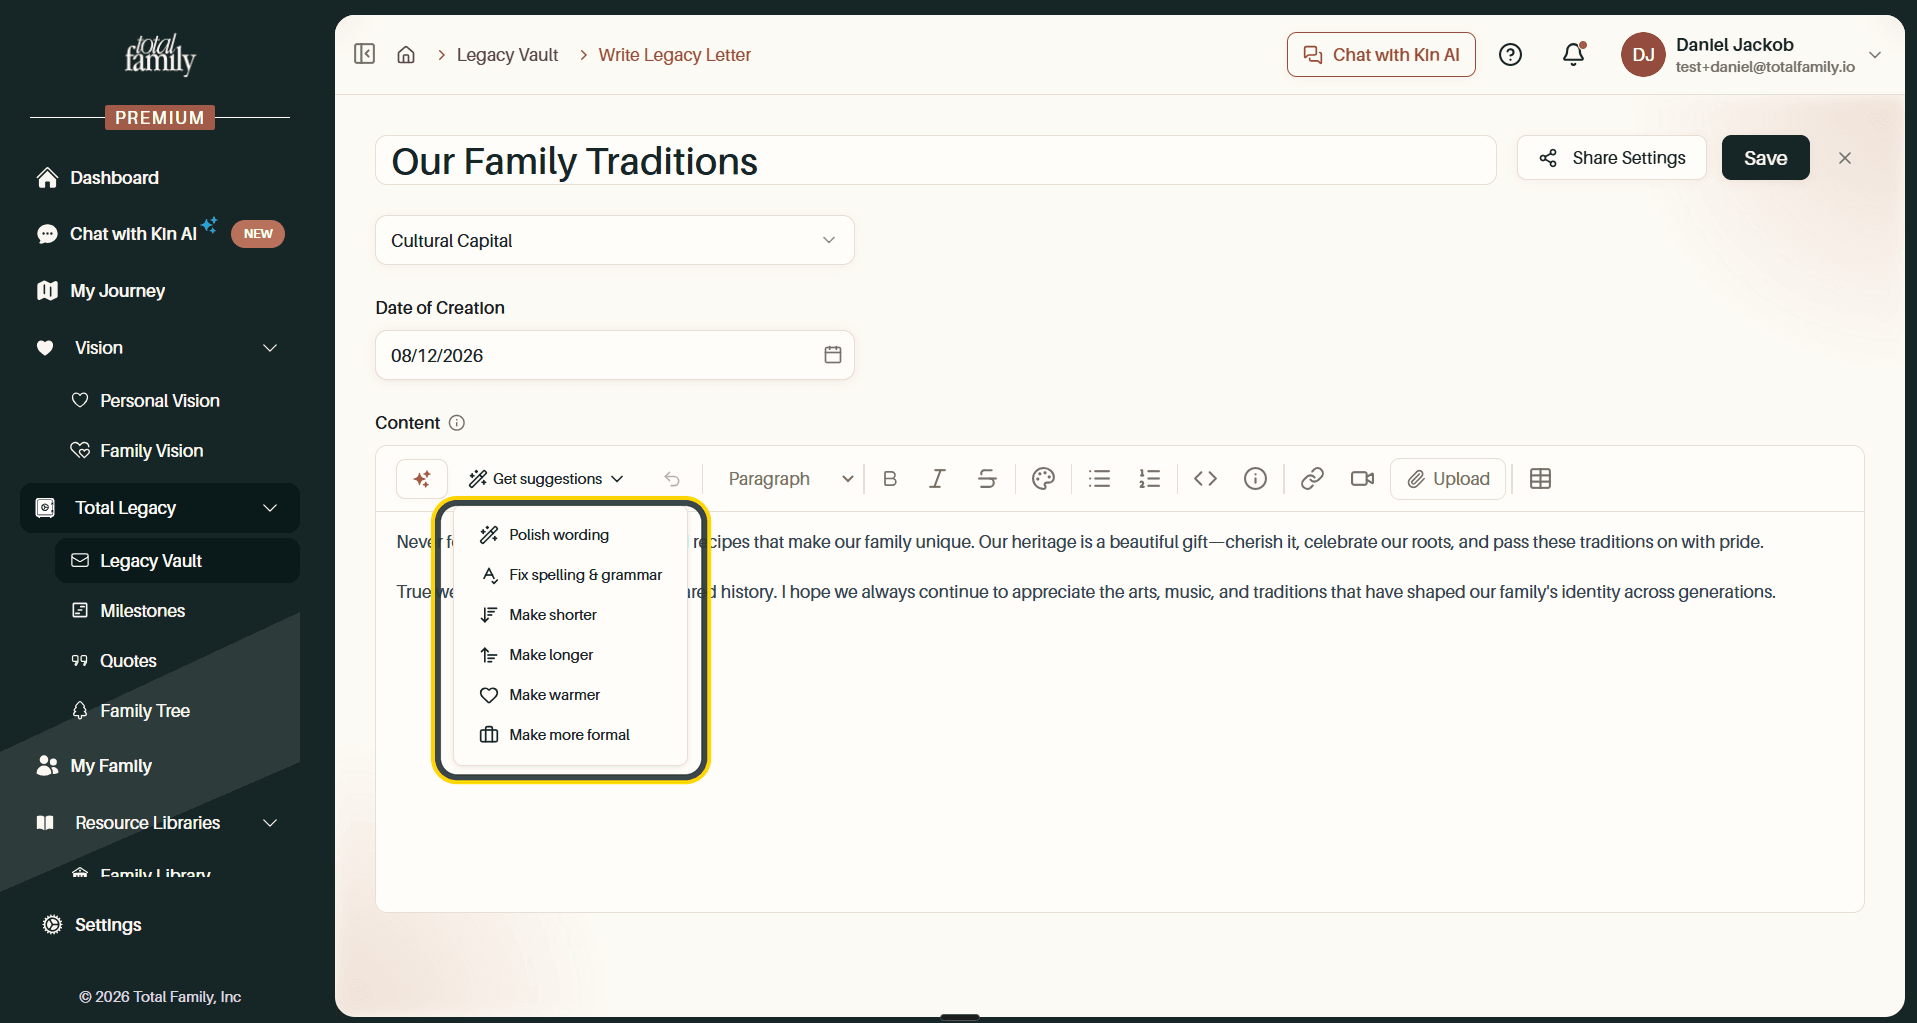
Polish wording · Fix spelling & grammar · Make shorter · Make longer · Make warmer · Make more formal
Tip AI is there to help you say what you mean, not to say it for you. A letter your family recognises as yours matters more than a perfectly polished one. Use Try again and ✕ freely.
Format Your Letter
The rest of the toolbar handles formatting. Left to right:
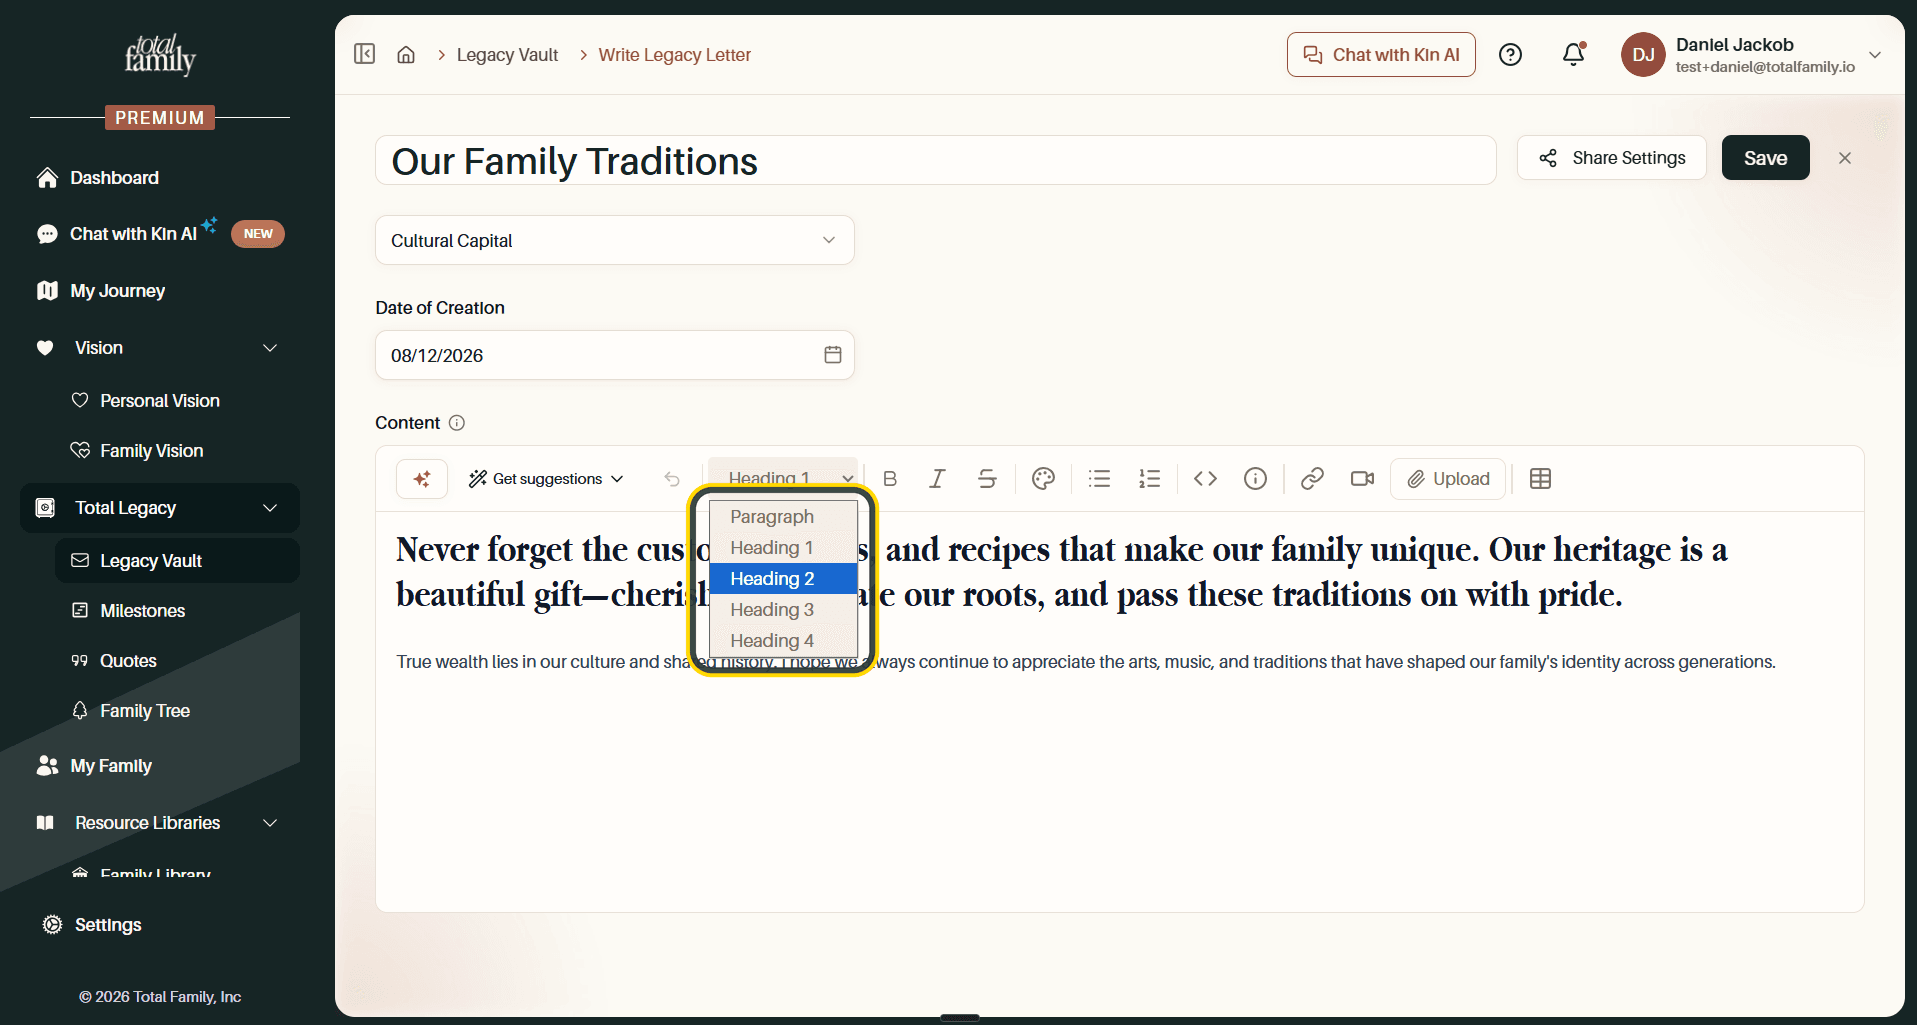
| Control | What it does |
|---|---|
| Undo | Reverses your last change |
| Paragraph / Heading 1-4 | Turns the current line into a heading, or back |
| B / I / S | Bold, italic, strikethrough |
| Colour | Changes the text colour |
| Lists | Bulleted or numbered lists |
| Code | Formats text as code |
| Info | Inserts a callout for something worth highlighting |
| Link | Turns selected text into a link |
| Video | Embeds a video |
| Upload | Inserts an image into the letter |
| Table | Inserts a table |
Choose Who Receives It
Share Settings, at the top right, controls who can read the letter and when.
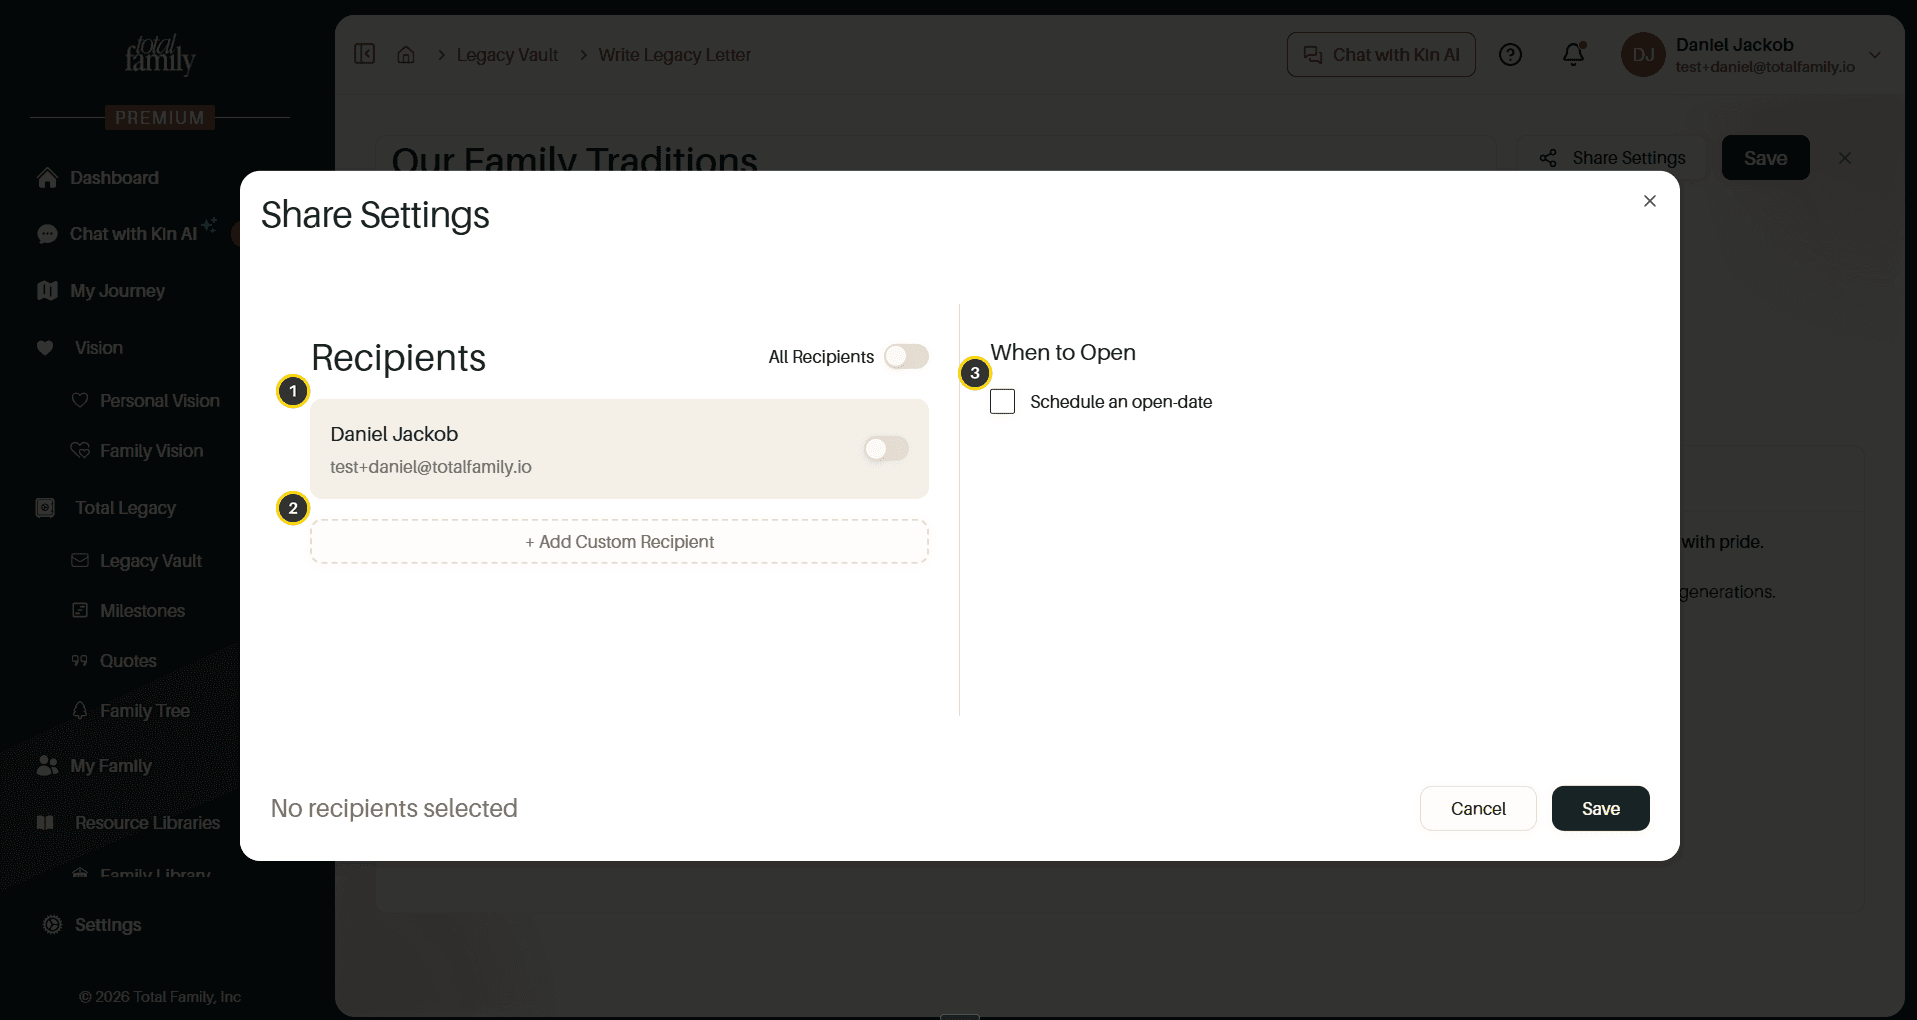
- Recipients: toggle on the family members who should receive it, or use All Recipients to select everyone at once.
- Add Custom Recipient: invite someone who is not in your family list.
- When to Open: leave it unticked and the letter is available immediately, or tick Schedule an open-date to hold it until a chosen date.
Adding a custom recipient asks for a name and an email address.
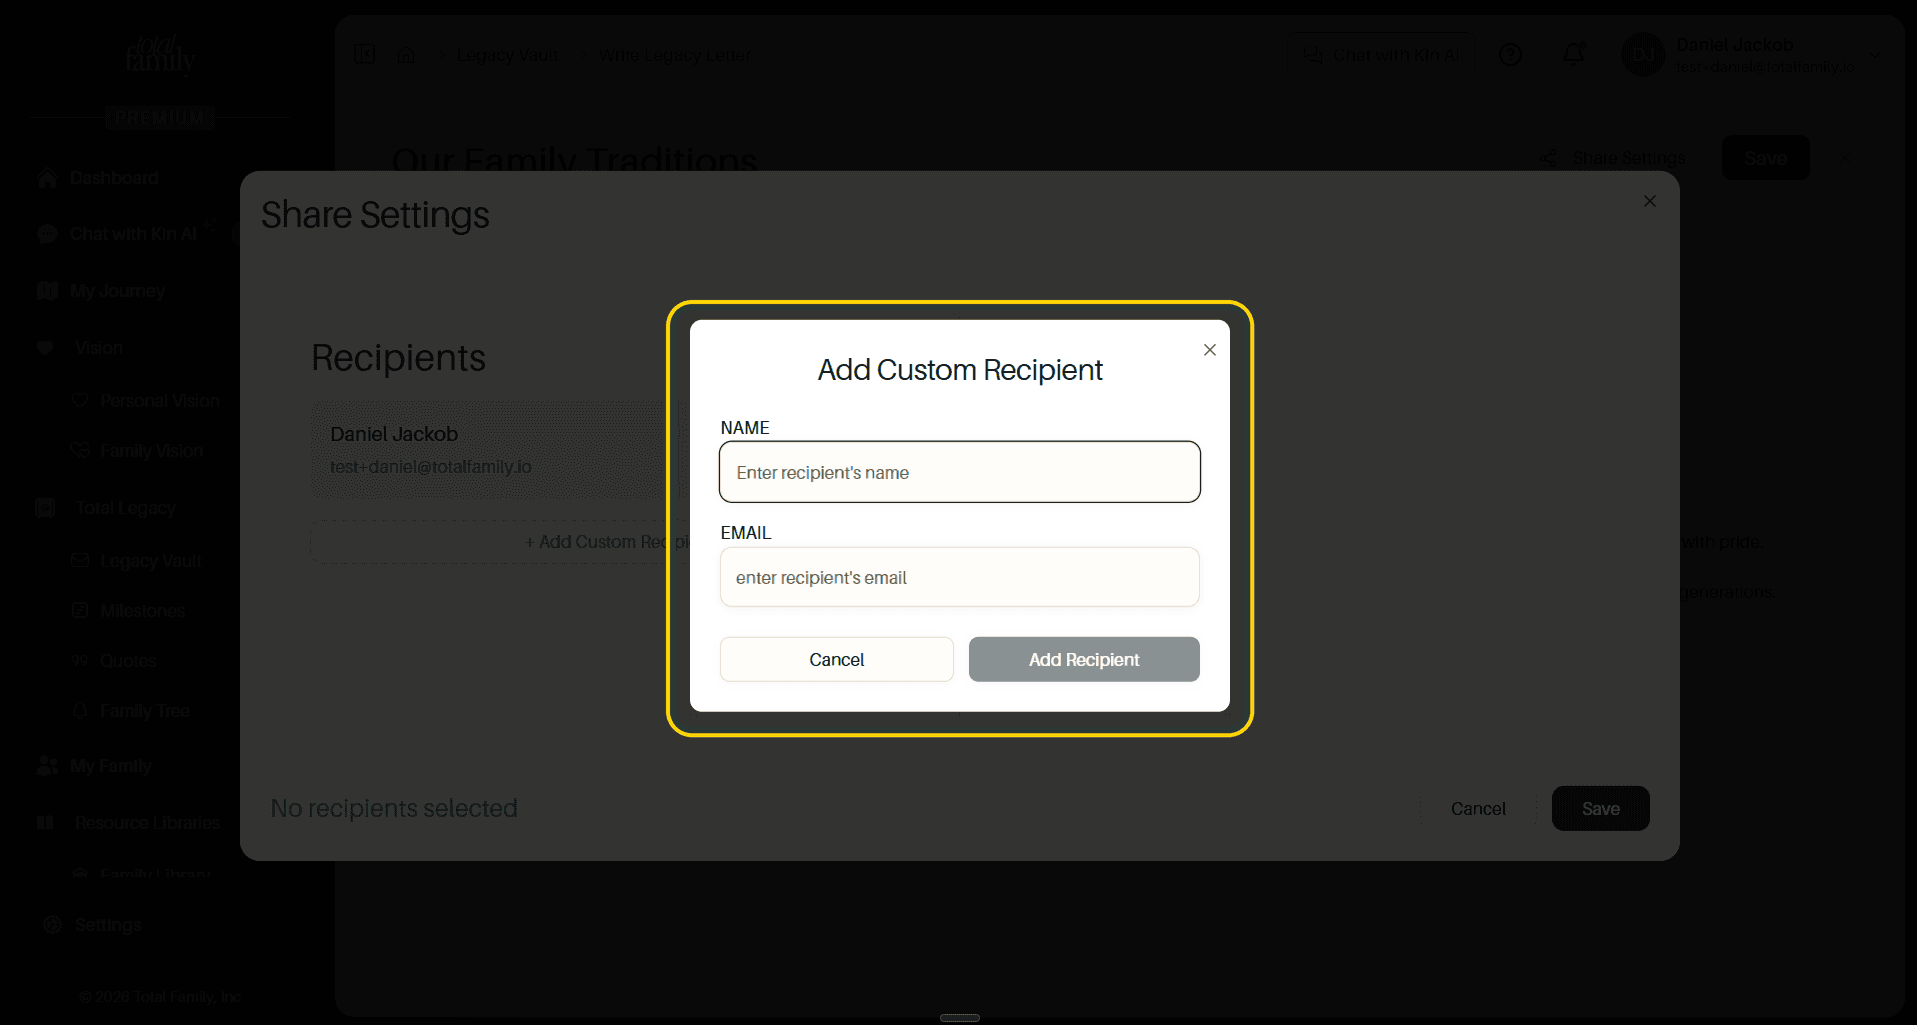
Select Save in the dialog to keep your choices, then carry on writing.
Save the Letter
Select Save at the top right. The fields grey out while it stores, then the finished letter opens in its own right, dated in full and signed off in your name.
Legacy Letter created successfully! confirms it. Total Family also asks how easy the letter was to write, which is a thumbs up or down and nothing more.
View, Edit, and Add More
Saving opens the finished letter, laid out with your title, the date, and your name signed at the foot. Three buttons sit above it.
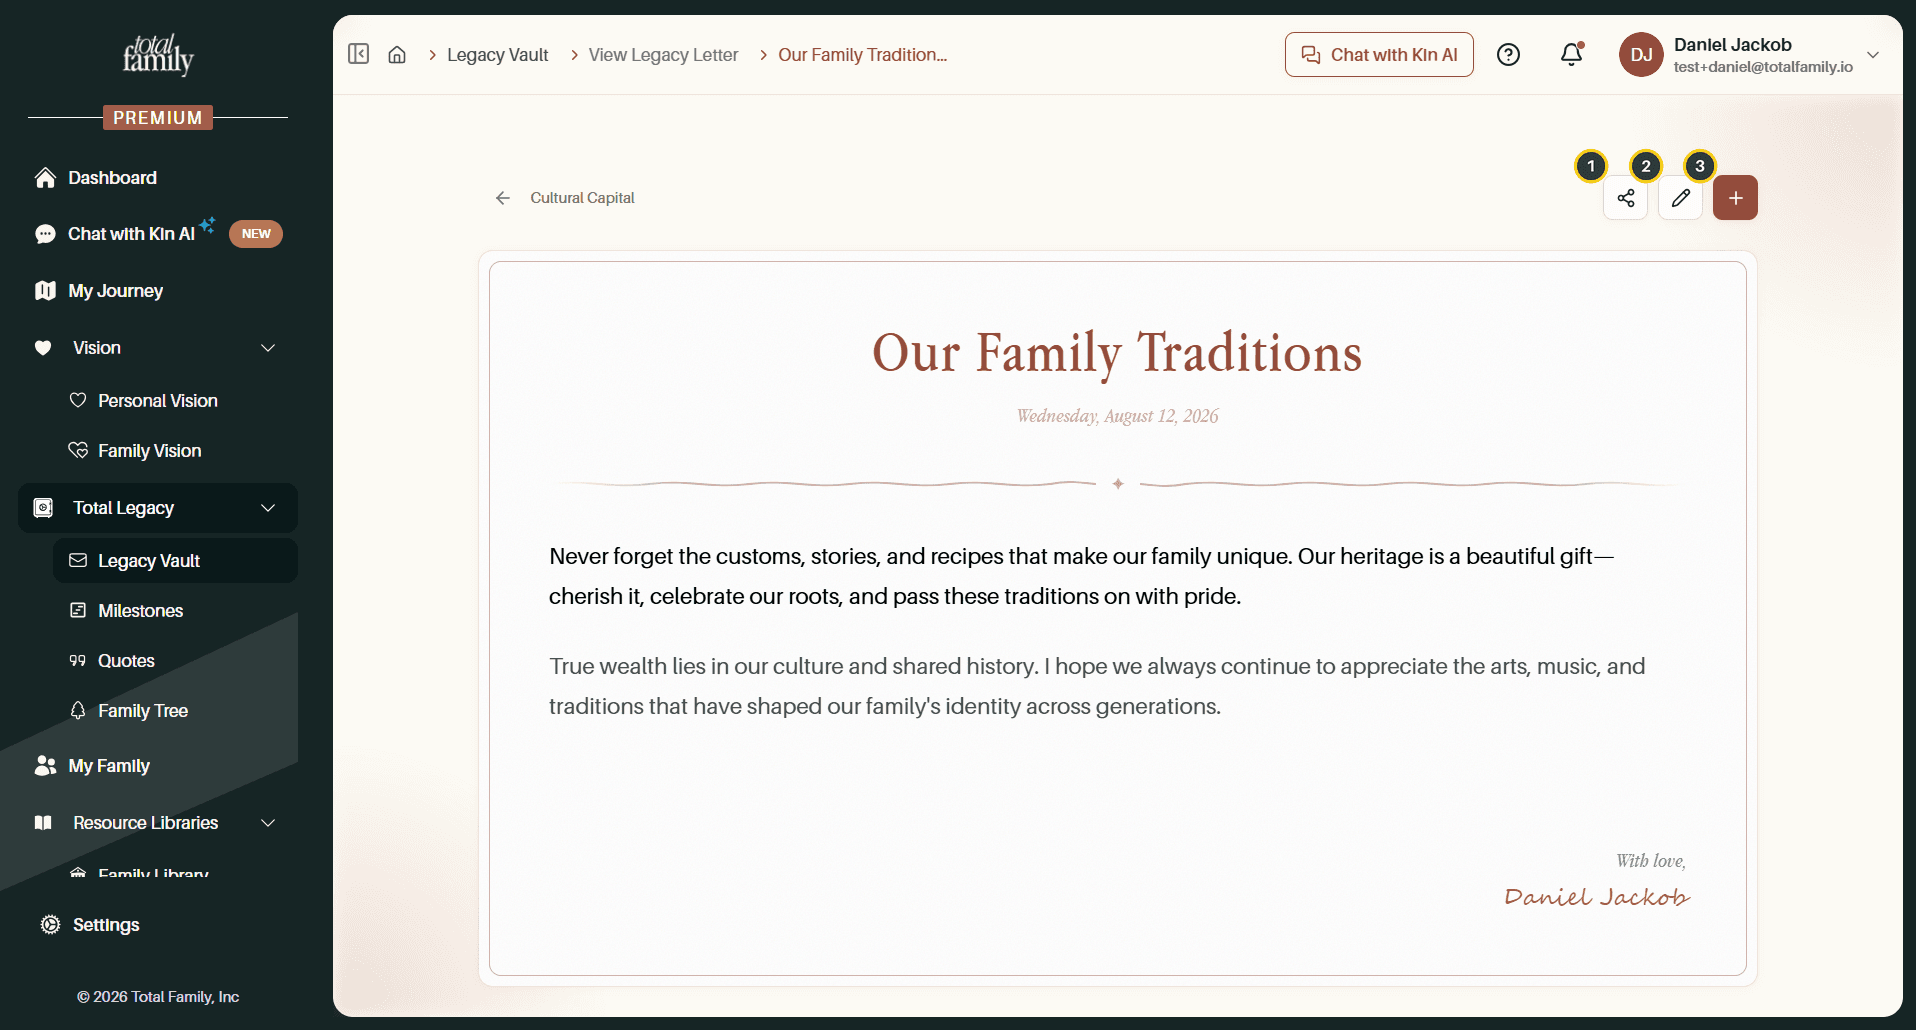
- Share Settings: the same dialog as before, so you can change recipients or timing later.
- Edit letter: reopen the editor.
- Write a new letter: start another one.
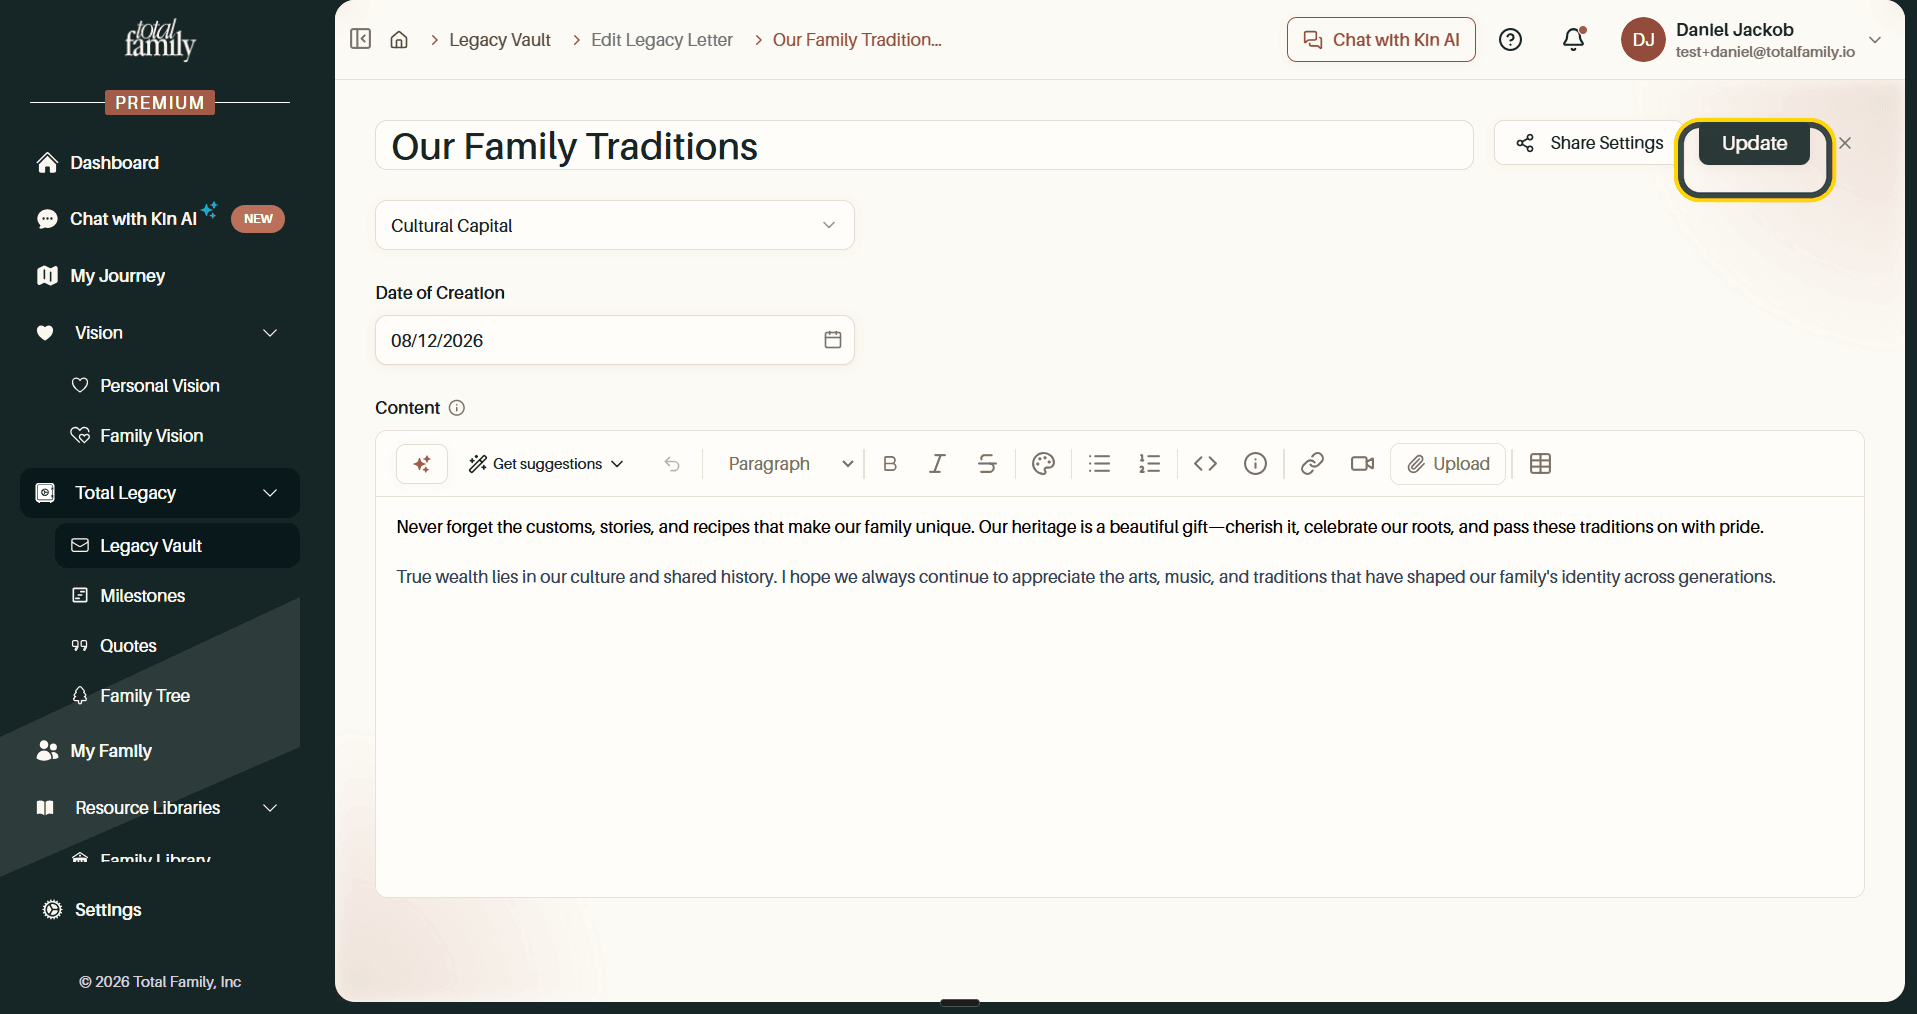
Editing works exactly like writing, except Save becomes Update.
Find and Manage Letters
Each category page lists its letters with the title, who it is addressed to, the date created, and the open date.
The ⋯ at the end of a row opens the actions for that letter.
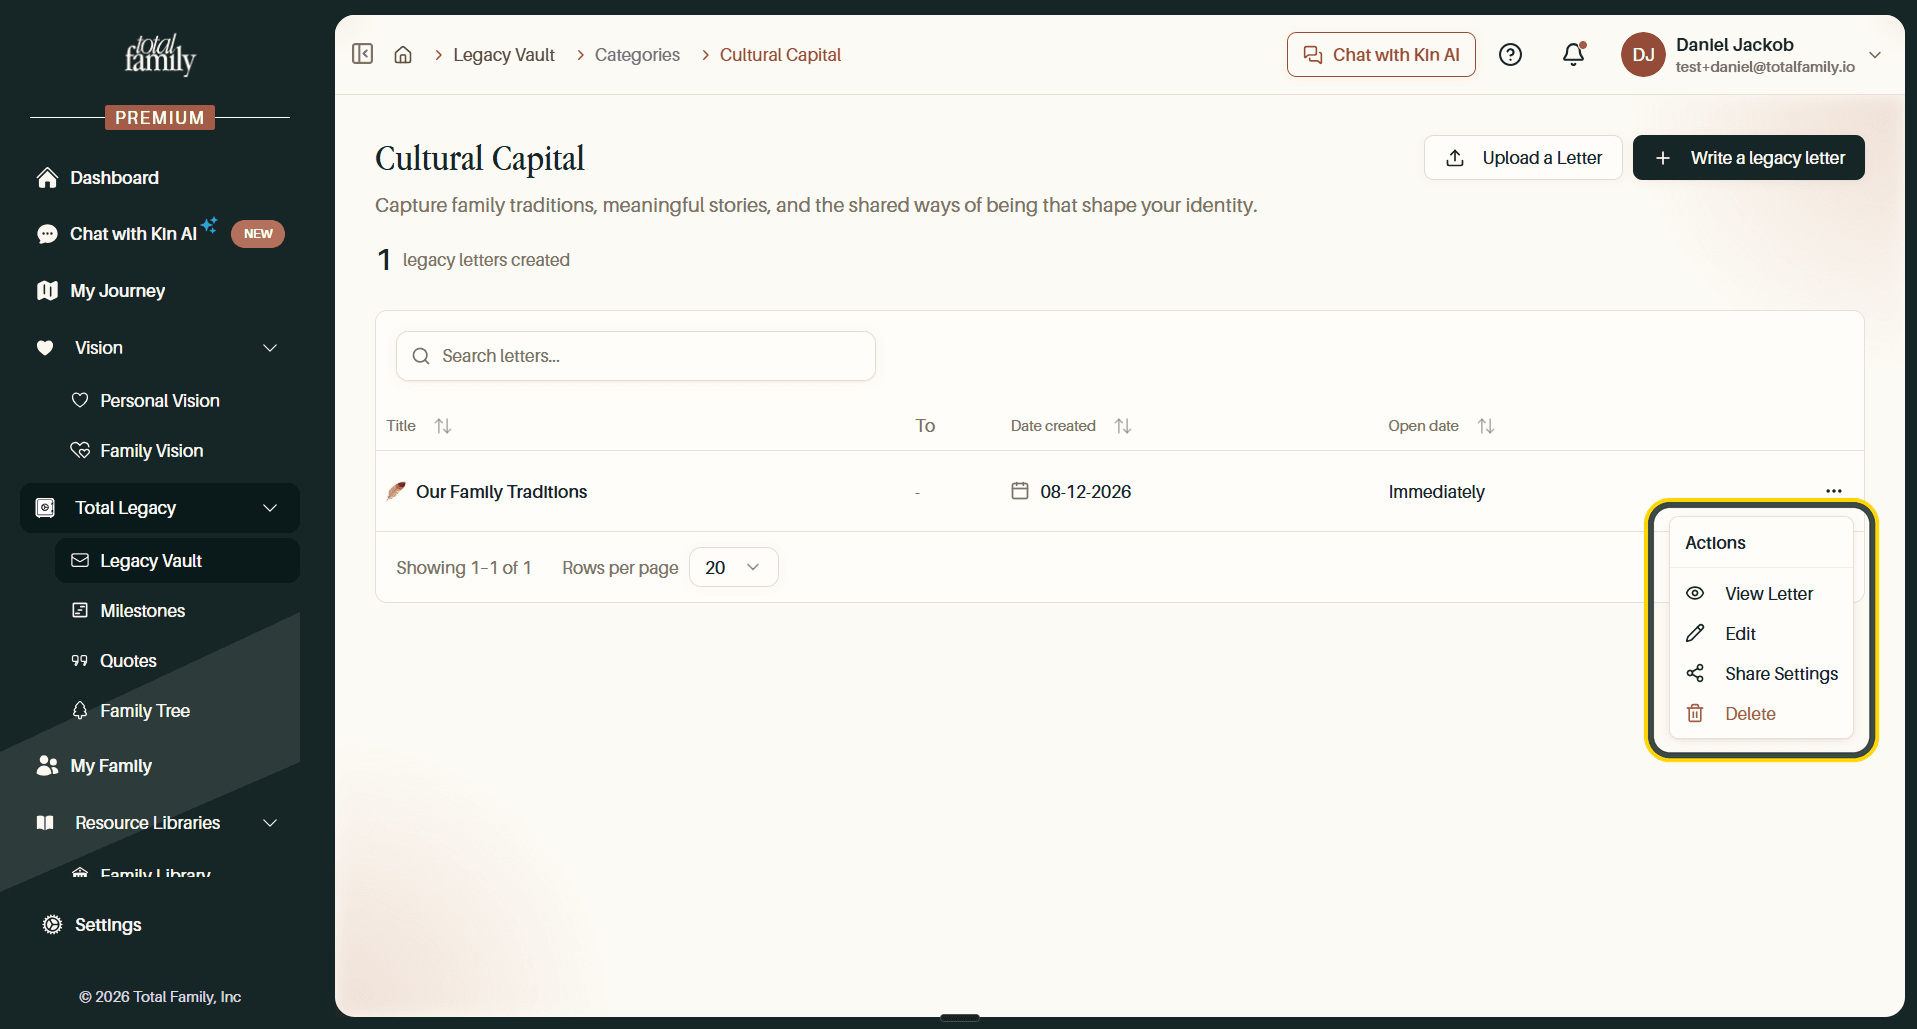
- View Letter: open it as your family will see it
- Edit: reopen the editor
- Share Settings: change recipients or the open date
- Delete: remove the letter permanently
Upload an Existing Letter
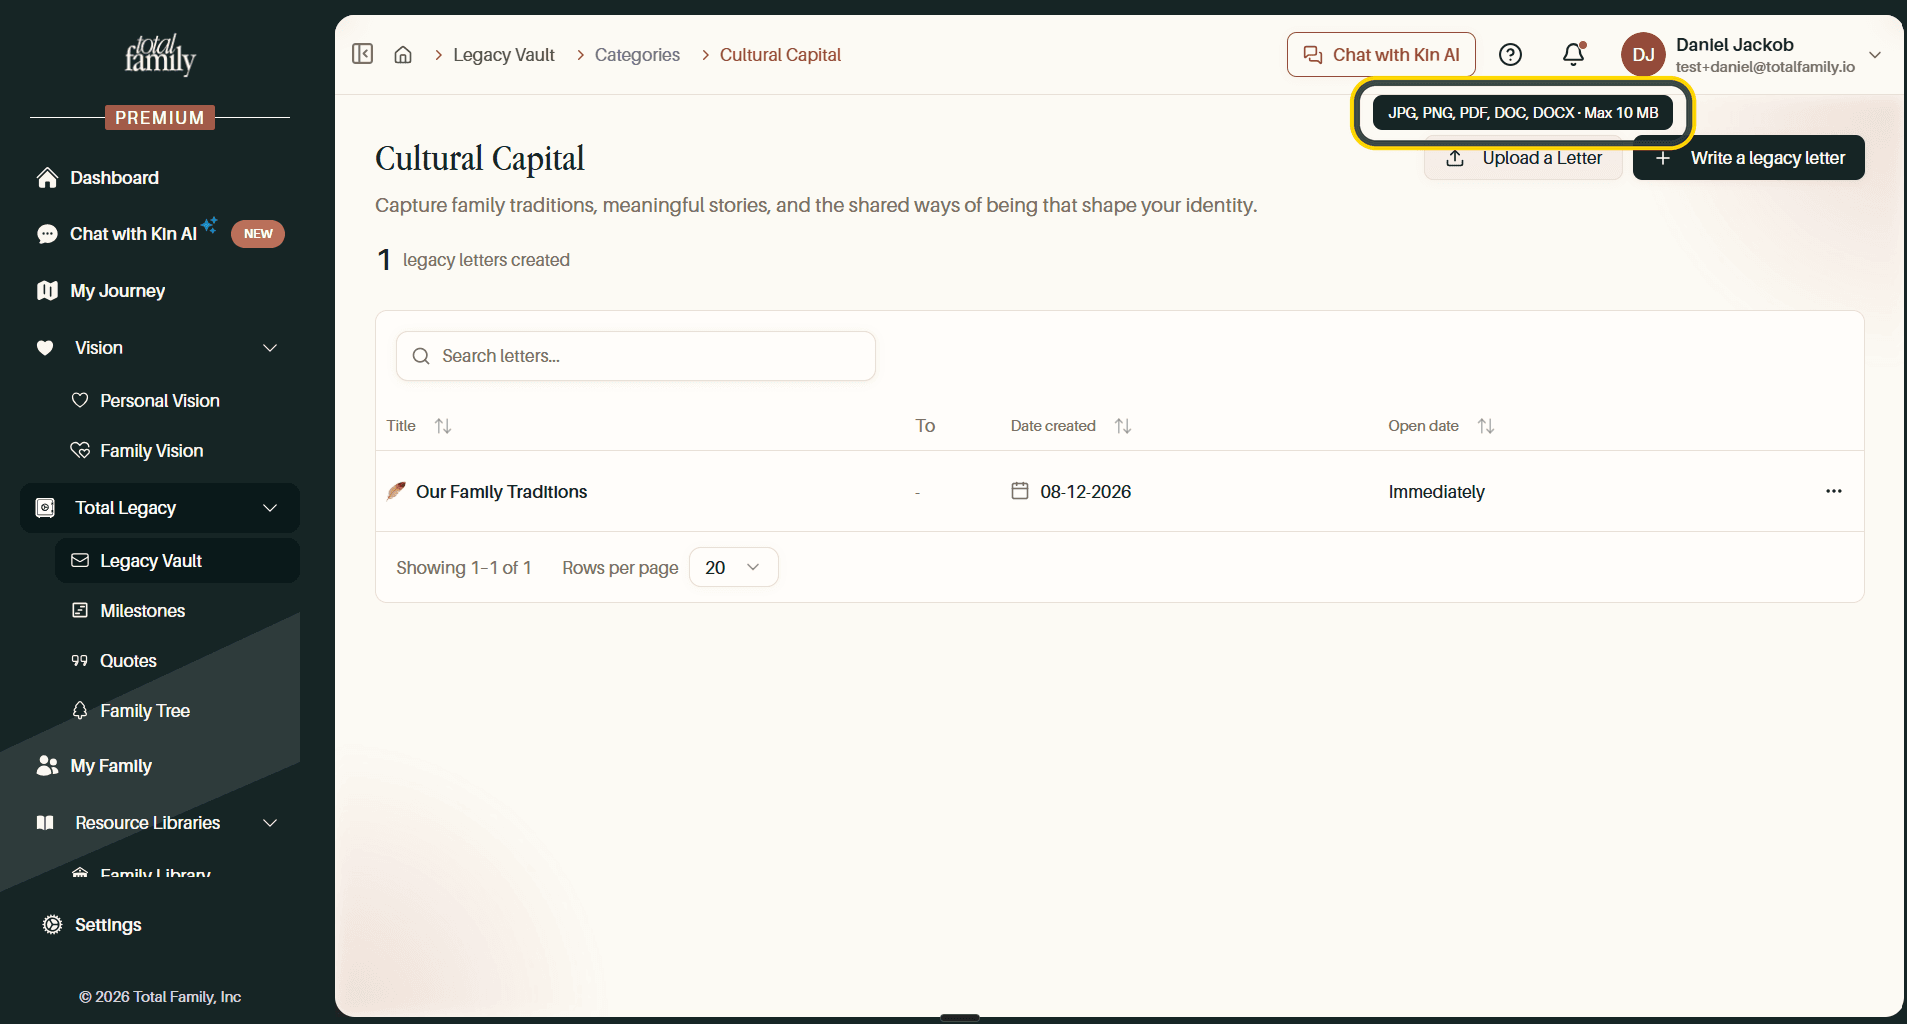
Not every letter starts in Total Family. Upload a Letter takes a photo of a handwritten letter, a scan, or a document you already have. Hover the button and it tells you what it takes: JPG, PNG, PDF, DOC, and DOCX, up to 10 MB.
Choose the File
Selecting Upload a Letter opens your file browser. Choose the file and select Open.
The editor opens with the title filled in from the filename, so rename the file before you upload it or change the title here. The file itself uploads into the Content area, which shows a spinner while it does.
Pick a Category
An uploaded letter needs a category just like a written one, and it has none to start with.
Save It
Save it, and it sits alongside your written letters, opens the same way, and takes the same Share Settings. The only difference is that the content is your original rather than something typed into Total Family.
Grid and Table Views
The toggle at the top right of the vault switches how your letters are listed.
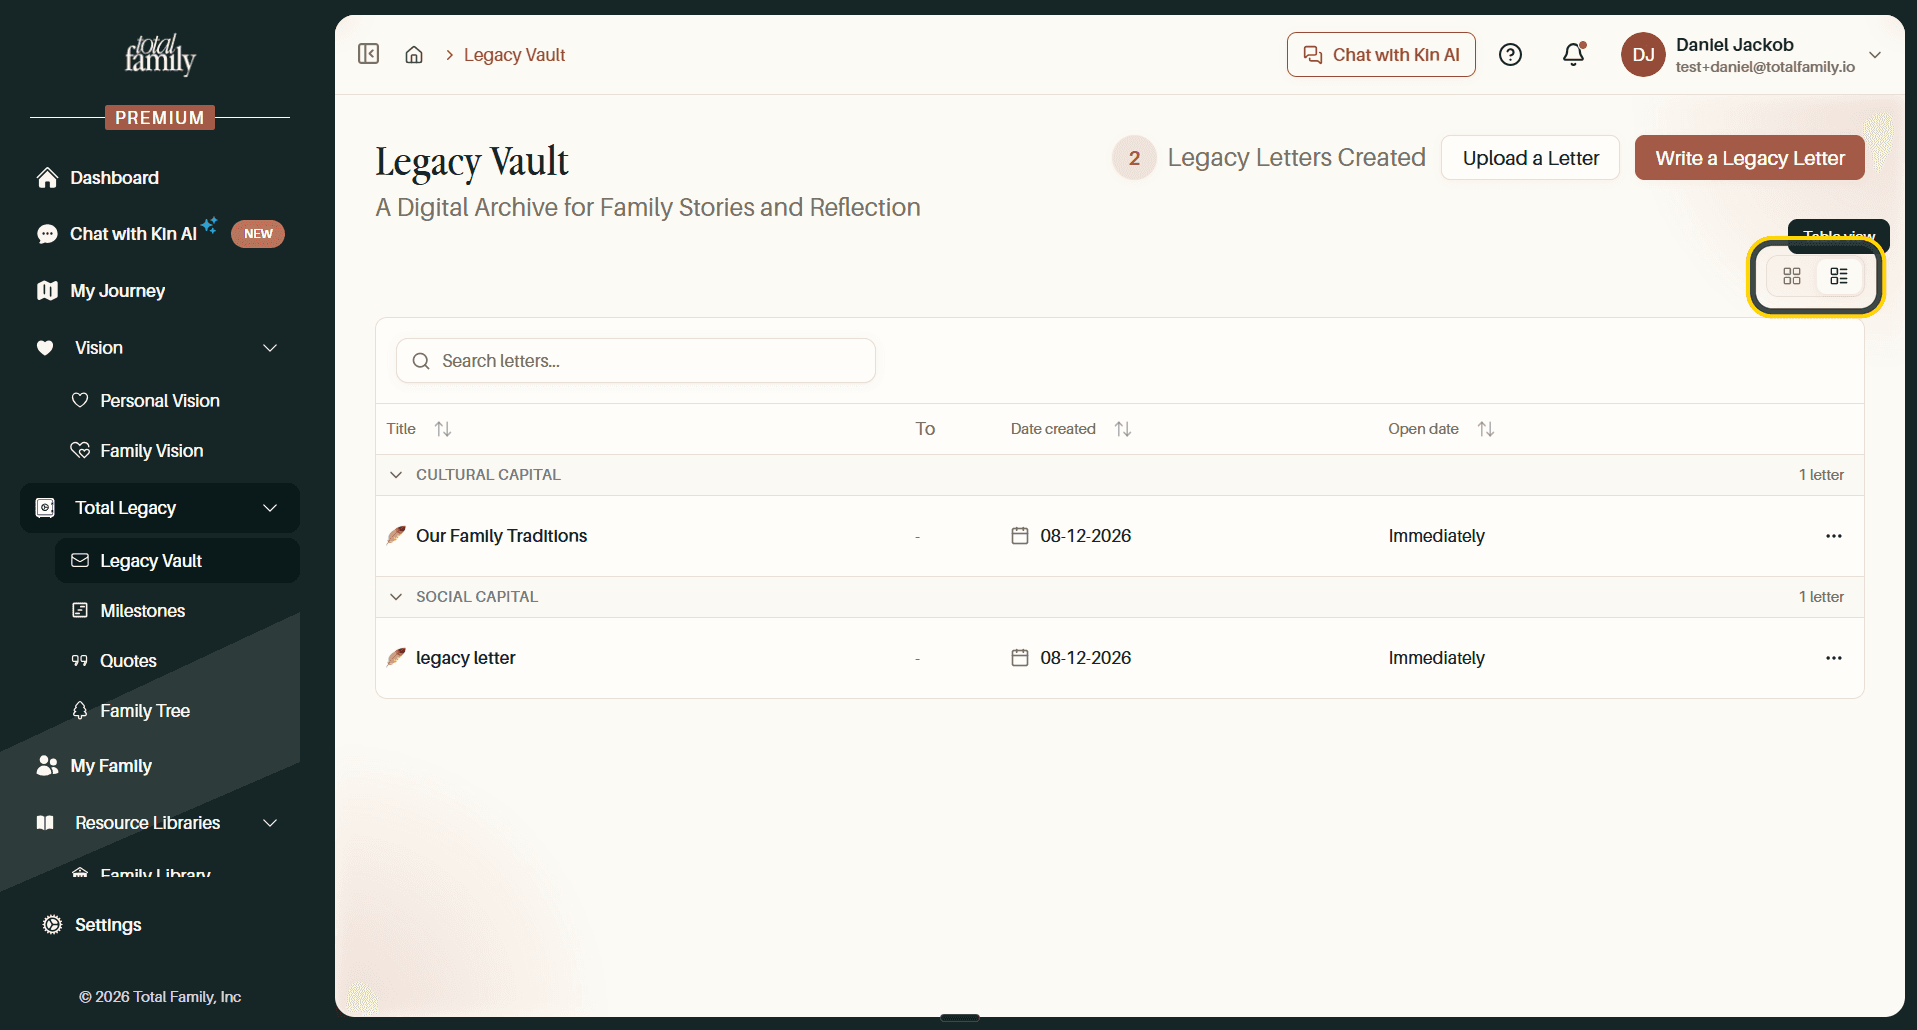
- Grid view: the four category cards with their counts, good for choosing where to write next
- Table view: every letter grouped under its category, good for finding one quickly