Vision Albums
Put your own photographs on your dashboard and vision boards.
Total Family fills your dashboard and vision boards with placeholder imagery until you replace it. One photograph changes the whole page: your purpose statement sitting over your own kitchen table, rather than a stock family nobody in the house knows.
There are two places to do it, and they work the same way.
Your Dashboard Photo
The card at the top left of your dashboard carries your family photo and name. Hover it and a camera icon appears in the corner.
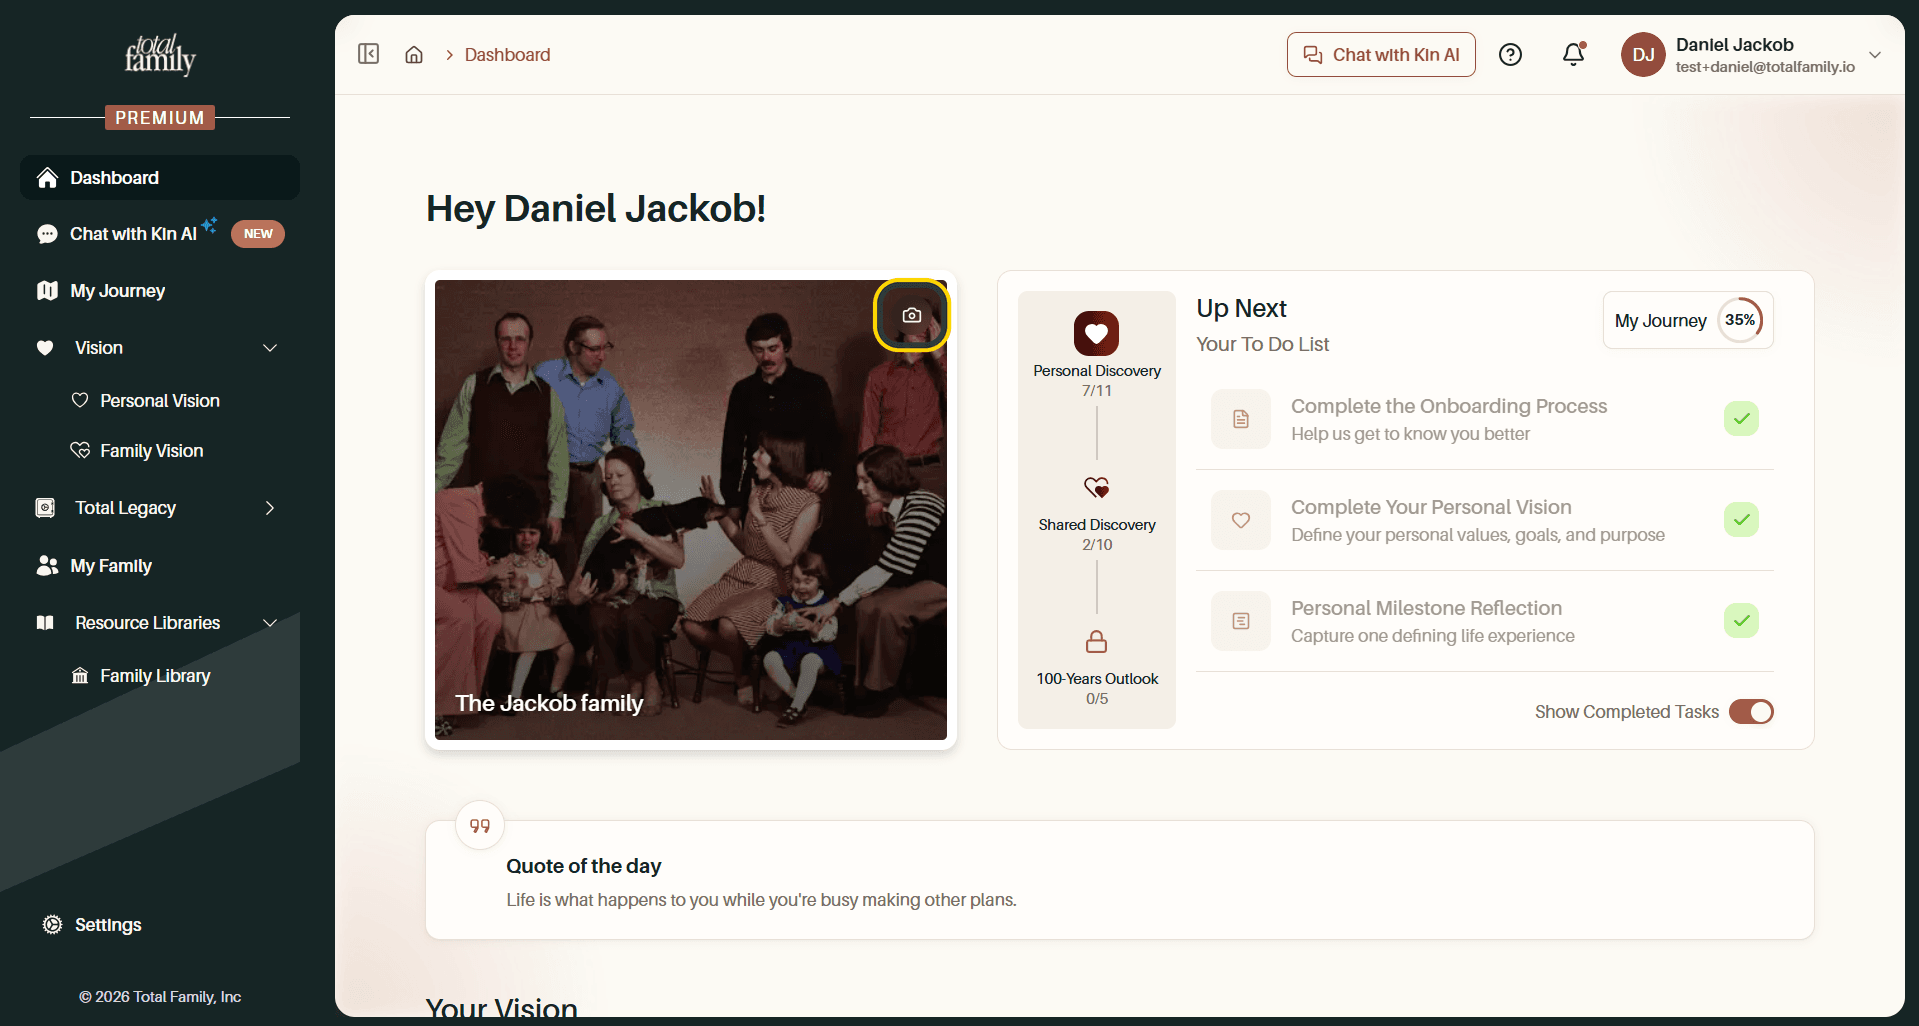
Selecting the camera opens the same upload dialog covered below.
Your Purpose Image
Your purpose statement sits over a photograph on the Personal Vision page. Change Image at the top right of that card replaces it.
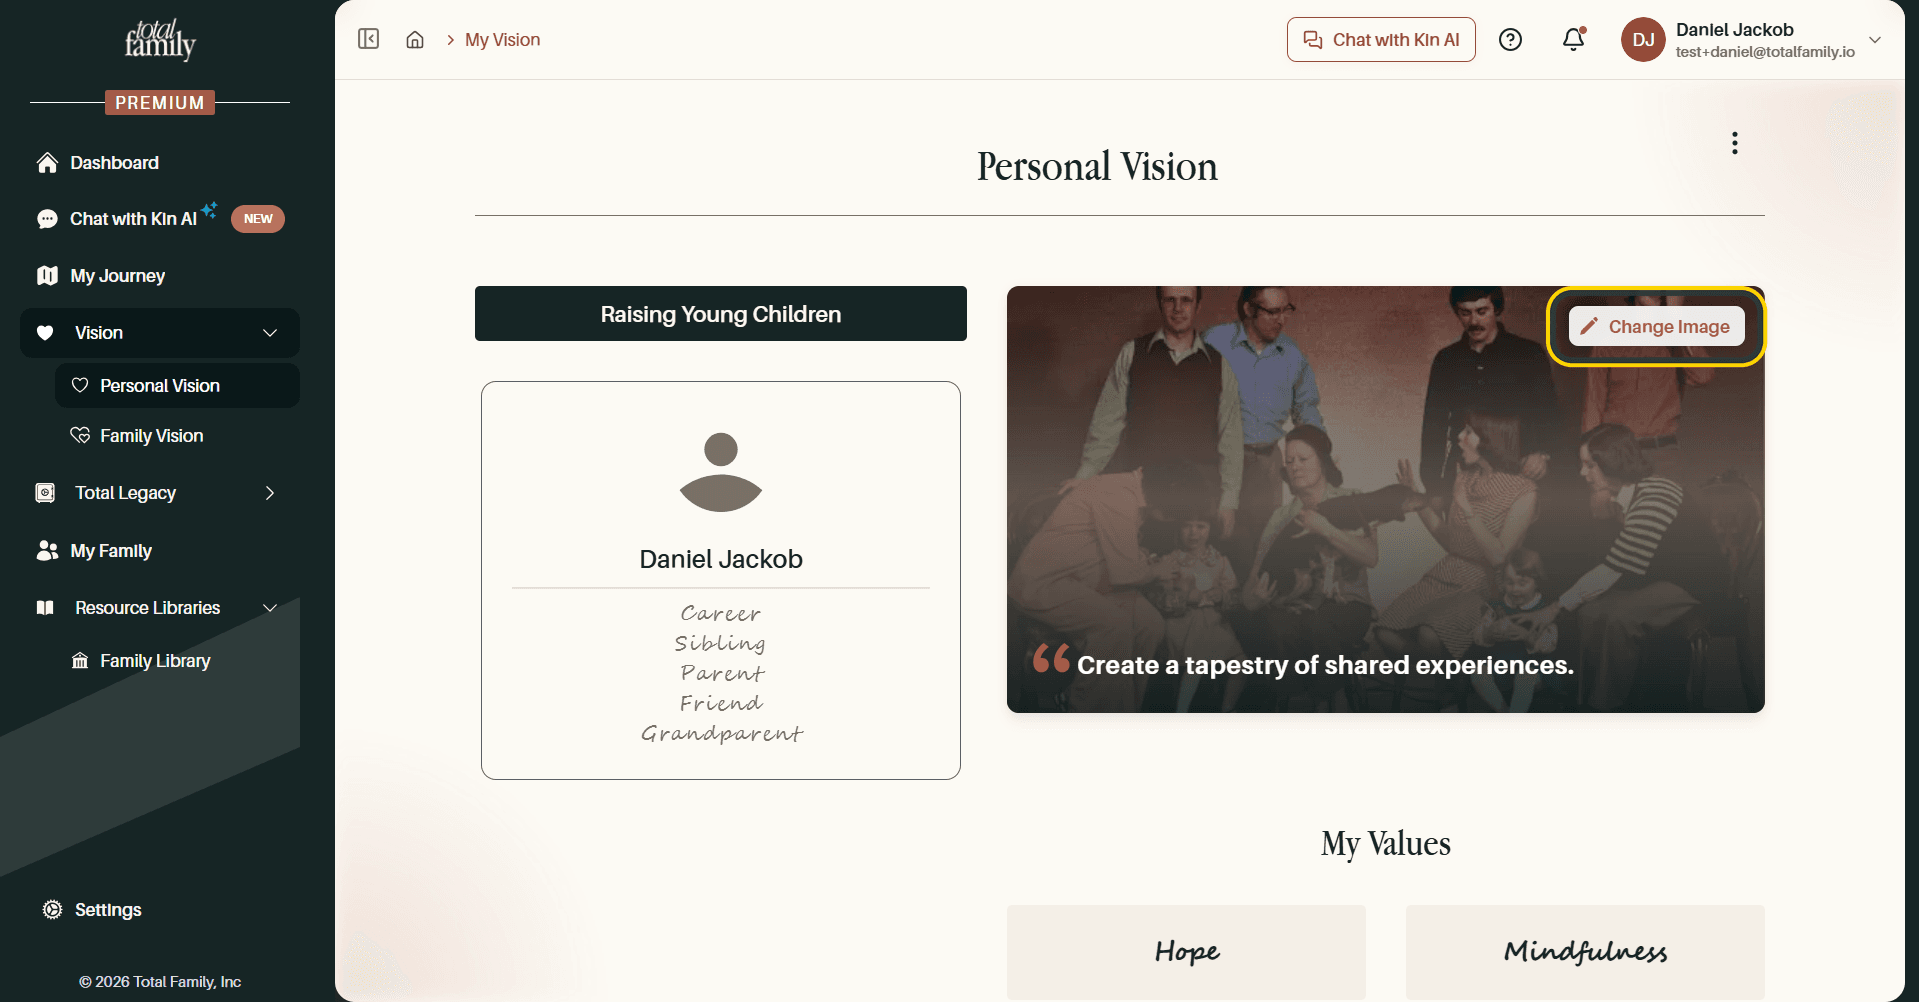
Family Vision works the same way, so the steps below apply wherever you started.
Choose a File
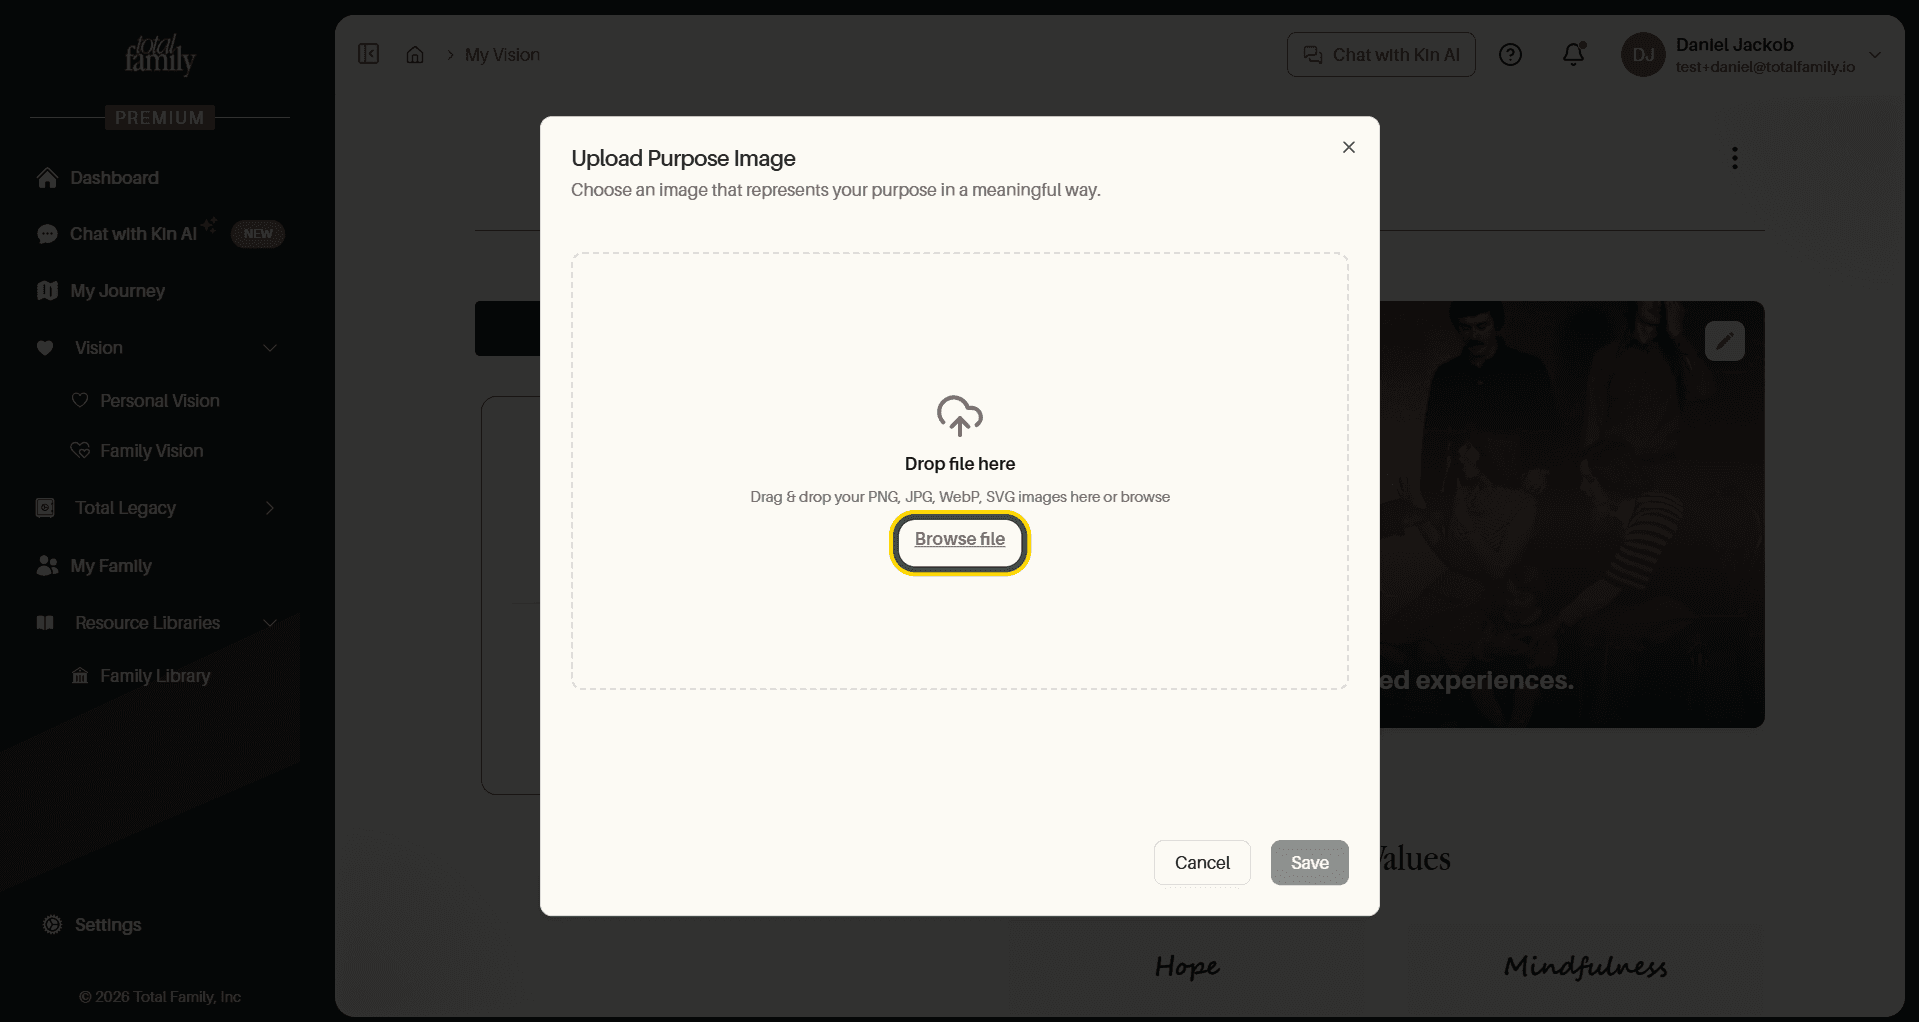
Upload Purpose Image opens with an empty drop area. Drag a photograph onto it, or select Browse file.
Your photograph appears in the dialog once chosen. The bin icon in the corner clears it if you picked the wrong one.
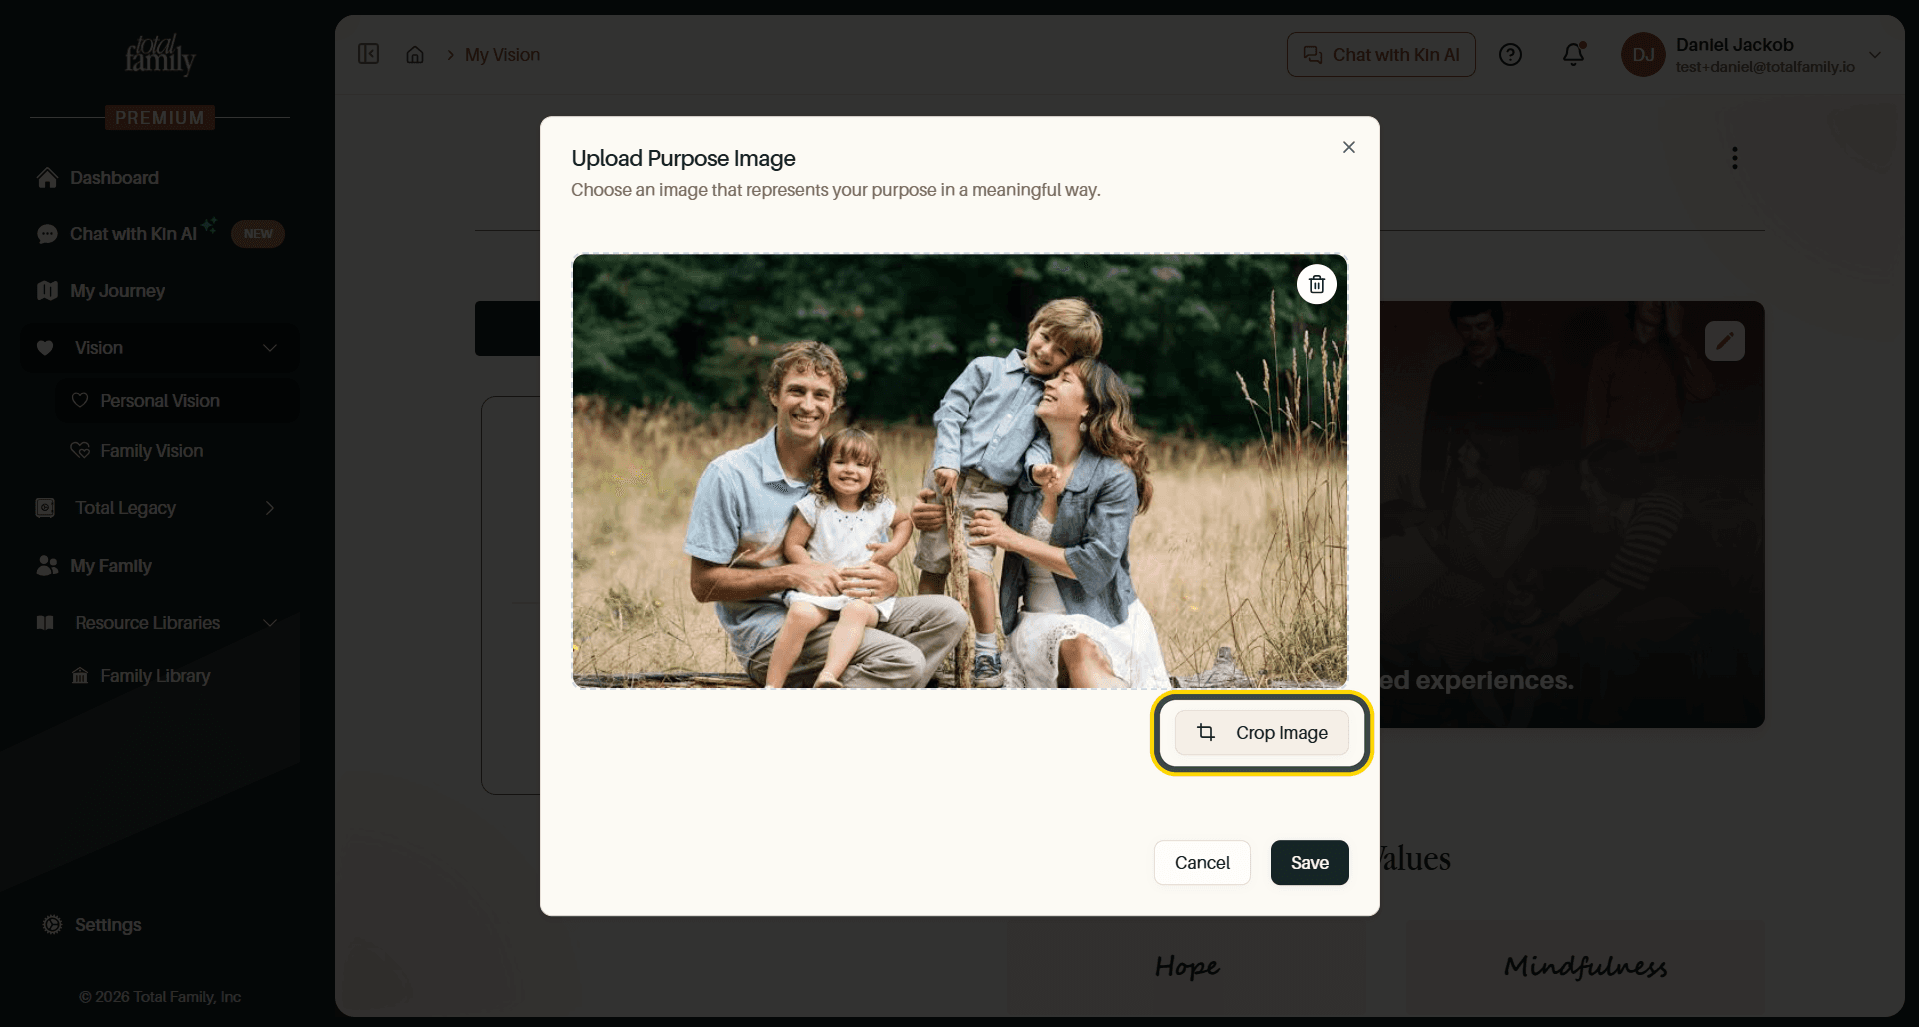
You can select Save here and be done. Crop Image is worth taking if the framing matters, which it usually does on a wide card.
Frame It
Cropping gives you a grid overlay and a zoom slider. Drag the photograph to reposition it and use the slider to zoom.
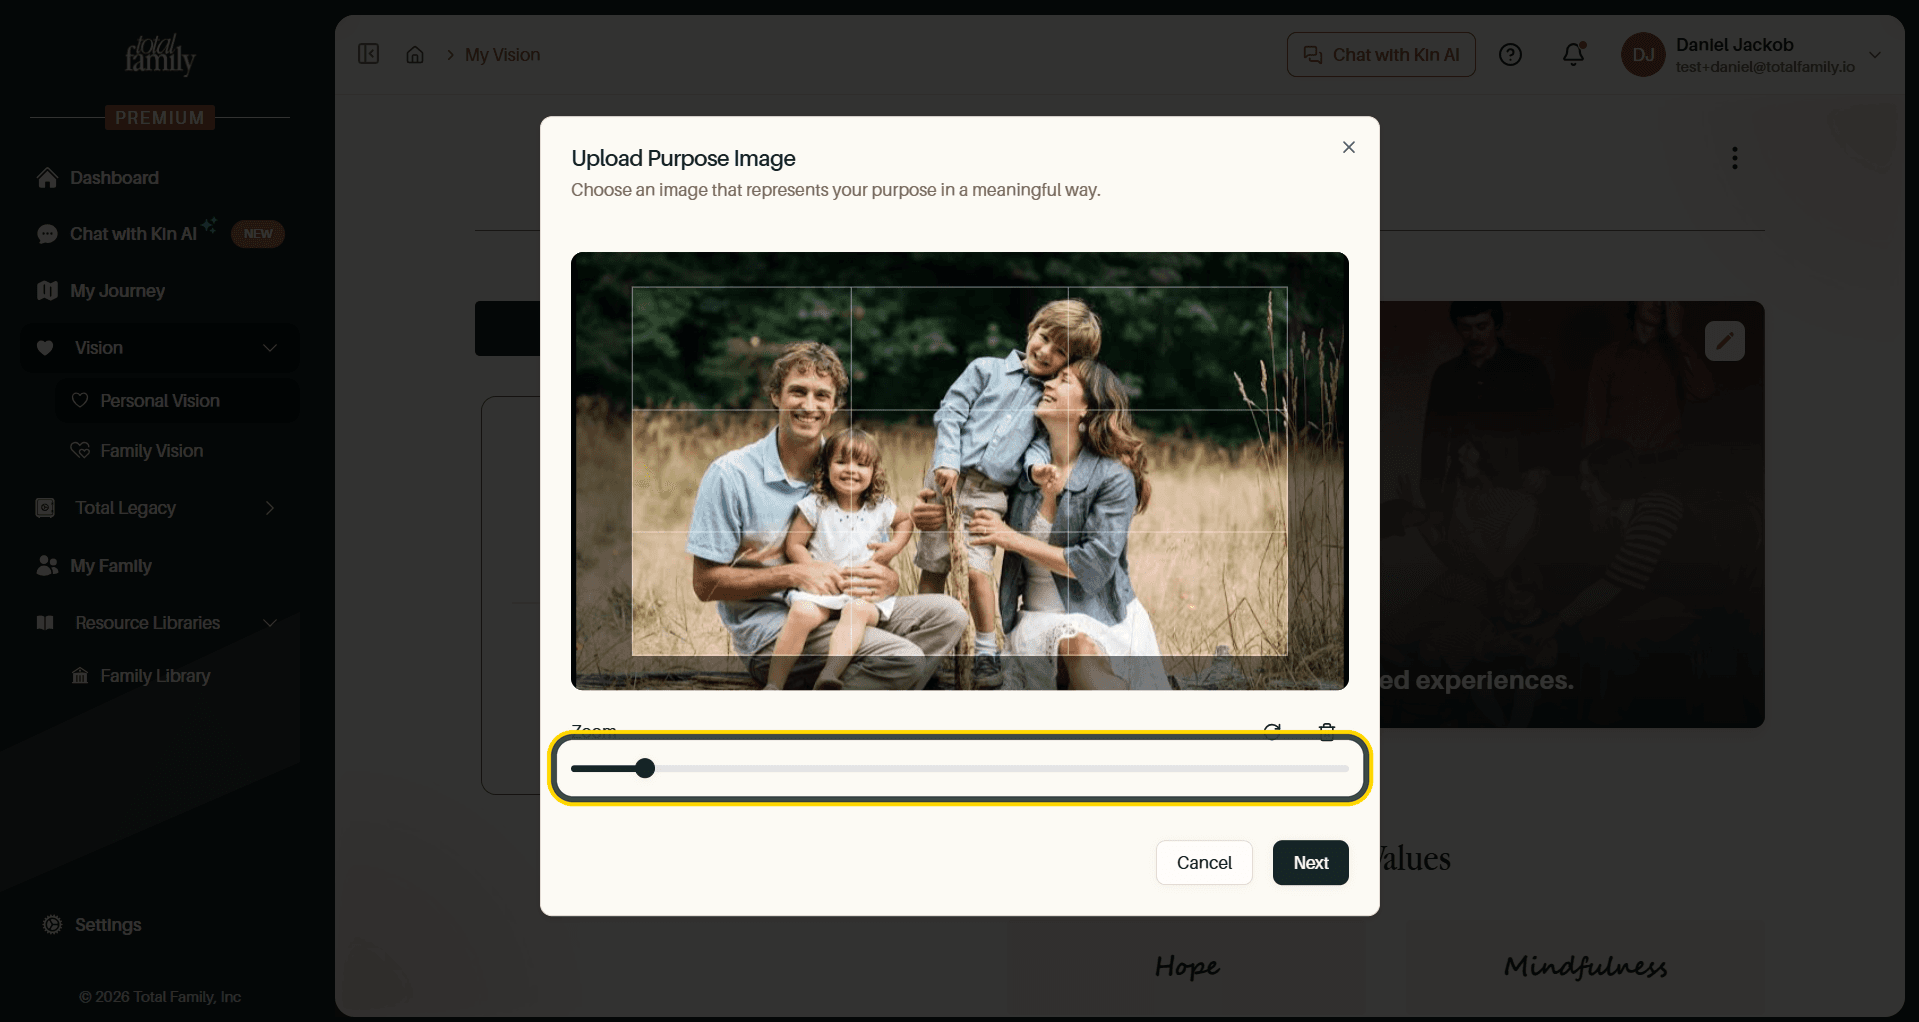
The rotate and delete controls sit to the right of the slider. Select Next when the framing looks right, then Save.
Tip These cards are wide and short, so a photograph that works upright will lose its top and bottom. Zoom out further than feels natural and keep faces near the centre band.
The Result
Your photograph replaces the placeholder, with your purpose statement still over it.
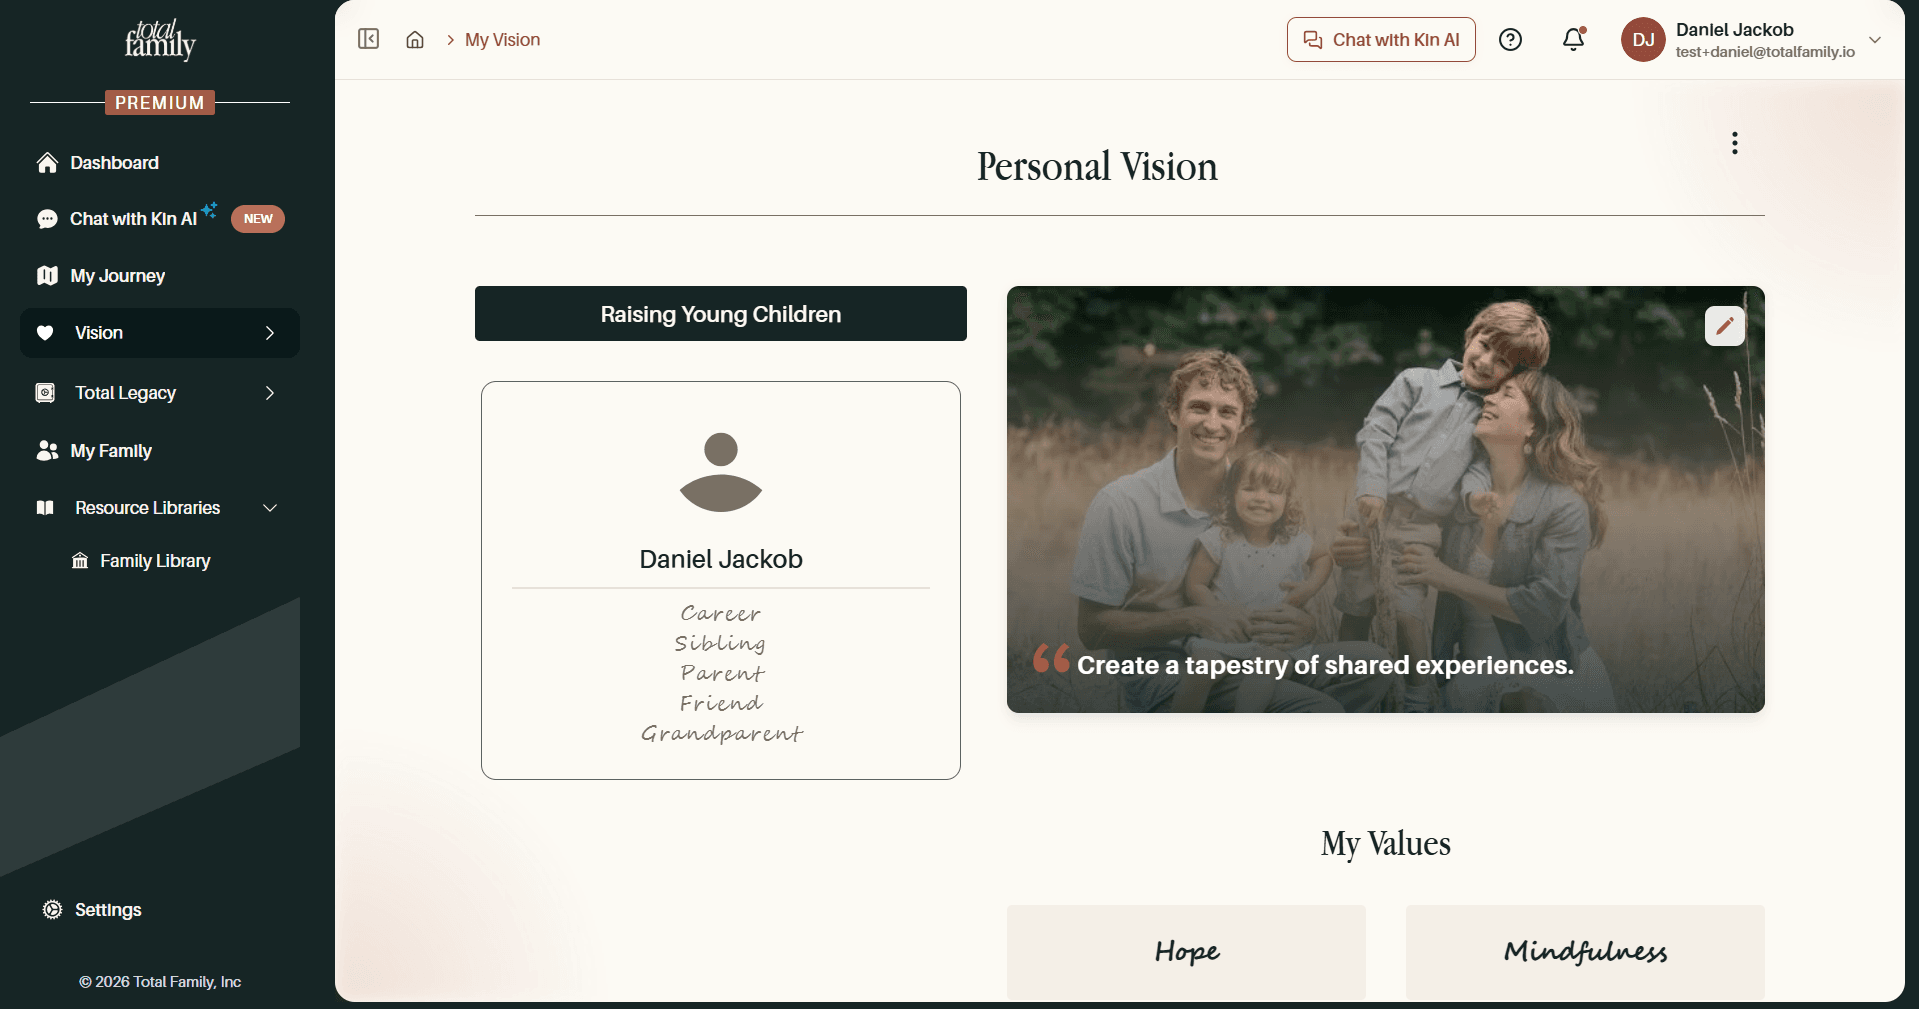
Changing it again is the same Change Image button, and there is no limit on how often you swap it.
Accepted Files
PNG, JPG, WebP, and SVG.